Thursday, November 30, 2017

Christmas Gift Card Frame

Hi all! I have a cute project to share with you using Karen Burniston's Gift Card Label die. I thought it would be fun to make a gift card holder that would also double as a holiday decor piece. After the gift card is removed, a photo can be inserted and displayed throughout the holiday season!

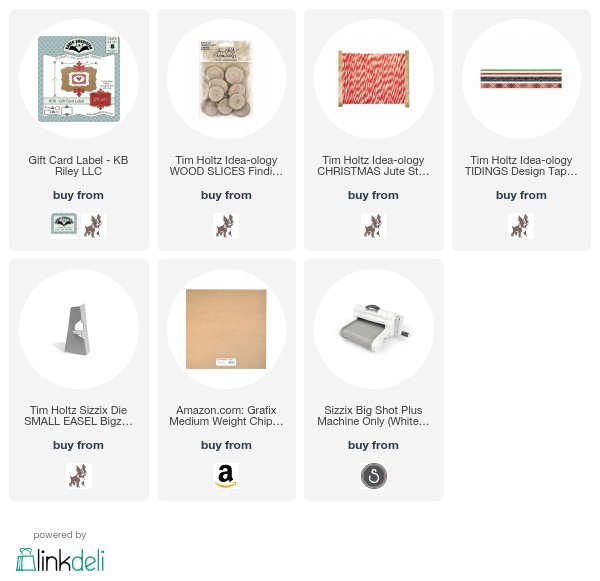
I used medium weight chipboard as a base (cut to 5" x 7") so it's super sturdy. I covered it with papers from one of Tim Holtz's older collections. The Gift Card Label was cut from kraft cardstock and adhered it to the top center of the panel, then red flourishes were adhered using the decorative dies included in the set. Along the bottom I added Tim's new log slices (so cute!) with painted letters from one of his older collections.

Here it is with the gift card removed and the photo inserted. I love this so much I think I'm keeping it for myself! :) So that it can be easily displayed, I used Tim's easel die to add an easel to the back. You could also insert it into a dollar store frame with the glass removed.

I love projects like this that can be completed in a couple of hours, yet have such a great impact and will be cherished by the recipient for years to come!

The supplies I used can be purchased at KB Riley and other stores through the links below.
Thanks so much for stopping by today - have a great weekend!

Tuesday, November 28, 2017

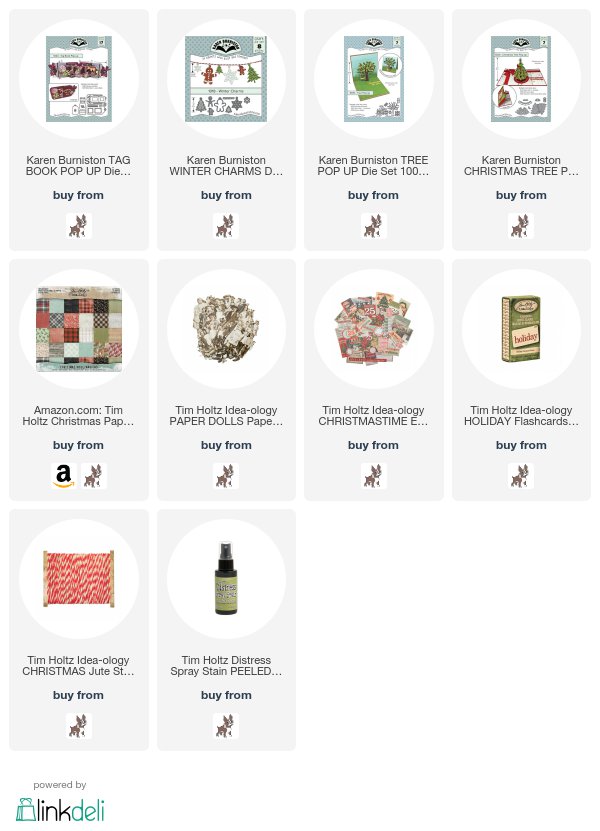
Winter Wishes Tag Book Pop-Up Card

Hi everyone! Hope you all had a wonderful Thanskgiving holiday. Earlier this month, Karen Burniston released a small collection of dies and I'm so excited to share this card using one of my favorites from the collection - the Tag Book Pop-Up. Imagine all the possibilities with this cool die!


Wow! Right?! I love that this card looks so complicated, but it's actually incredibly simple to put together - that means you can spend your time embellishing it to your heart's content.


For this card, I decided to use some of my favorite papers and embellishments from Tim Holtz. The little bunting was made with pennant dies that are included in the set, plus little snowflake charms from the Winter Charms set. The trees were also made with dies from the charms set - I just cut off the top ring.

See that little paper clip? It's a die! Also included in the set. I cut this one from cardstock that was covered with metal foil tape. It needs a bit of glue to hold it in place but it makes such a cute accent. My little 'holly' leaves were cut using the fall leave die from the Tree Pop-Up die set. I scored a line down the middle and added a red pearl and you'd never know it's not a holly die.

I hope you enjoyed this cozy winter tag card. I can't wait to try more variations. The supplies I used can be found at Simon Says Stamp and Amazon via the links below. The paper is from an older TH collection, but many of the same/similar patterns are in the newer set.

Thanks so much for stopping by today!

Friday, November 17, 2017

Christmas Train Case

Hi everyone! I wanted to let you all know there is another great sale going on at Sizzix this weekend, and it includes lots of great dies from Eileen Hull like this Train Case. This is such a cool die and I've hardly used it. I've had the idea for this little winter scene for ages and it seemed like the perfect time to make it!

I cut the pieces for the train case from medium weight chipboard and then assembled the case. I chose to cover it with this pretty paper from My Mind's Eye after I'd assembled it, so I didn't have the score lines showing.  I actually lined the inside, which was not really necessary since you don't see it once it's filled up!

After the case was covered with paper, I attached the lid. To build the bottom up, I added styrofoam. It also makes a great base for anything you want to glue down. I had this sweet deer that I've been saving for ages - you might remember this tutorial from a few years ago for making dies 3D - that was perfect for my scene. Unfortunately, that die is only available by special order now, but any deer that's about 3" tall would work. I also added one of Tim Holtz's Woodland Trees with pearls, some vintage ornaments, and greenery. It's all tied up with a piece of Crinkle Ribbon and a Christmas Key.

Even though this looks big in pictures, it's a tiny little case - measuring approximately 5" wide. I almost thought about making this into an ornament, but it's just a bit too big. It is absolutely perfect for little scenes like this though. I wish the sparkle showed up better in photos - it's so pretty!

You can find Eileen Hull's Train Case die, plus lots of others by clicking the image below. Don't forget that shipping is free when you spend $25+!


I was surprised and excited to see that Eileen's Journal die is included in the sale - it's a great price on such a fabulous die. I used it to make the sweet Christmas shadow box below. I am obsessed with that die!

Thanks so much for stopping by today - have a great weekend!

Tuesday, November 7, 2017

Karen Burniston Designer Challenge - Gingerbread


Hi all! It's time again for the Karen Burniston Designer Challenge. This month our theme is Gingerbread. Christmas will be here before you know it so it's a great time to start thinking about your Christmas and winter holiday cards!

I was inspired to make this cute gingerbread snow globe card by, of all things, a cookie video from Sweet Ambs. She is absolutely amazing - I dream of someday making amazing cookies like her. For now, I'm happy to use them as inspiration for cards; paper is so much easier than dough!

Read on to see how I altered Karen's Cupcake Pop Up card die and combined it with a few of her other dies to make a sweet little snow globe shaker card.

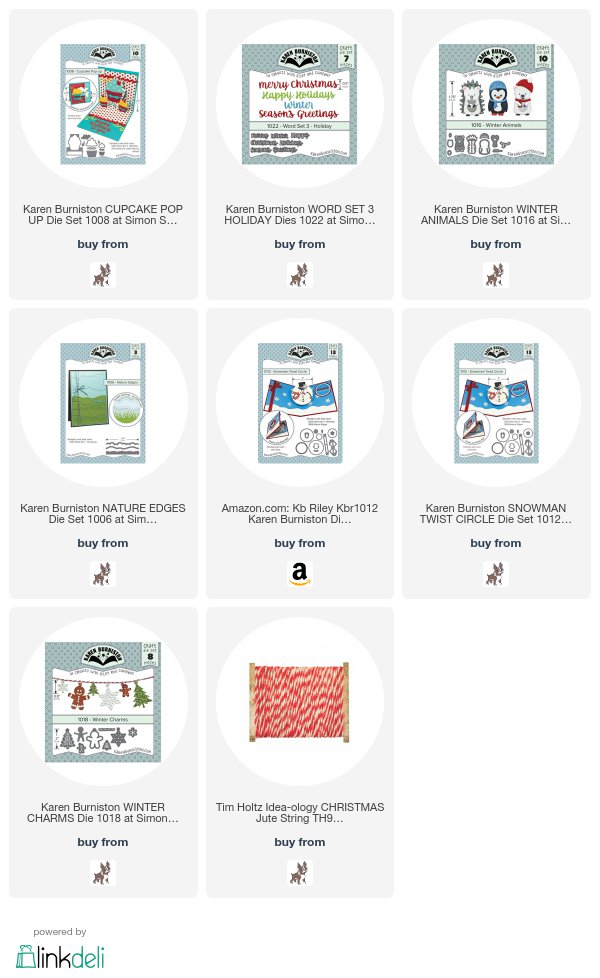
To make the shaker, I cut a circle from white cardstock with the largest circle from the Snowman Twist Circle set, then inked it with Distress Oxide and sprayed it with Picket Fence Distress Ink spray. I cut white fun foam with the same die, then cut the edge with the wavy die from the Nature Edges die set. This will create the 'dam' for the bottom half of the shaker - I felt very smart for thinking of that! :) To make the dam for the upper part of the shaker, nest the large and next size down circle dies and cut another piece of fun foam.  Trim off the excess and adhere to the cardstock, butting the edges up to the snow part.

Next, I cut my gingerbread man from cork using the large gingerbread boy from the Winter Charms set and added a hat from the Winter Animals set. The tree is also from the Winter Charms set. The snowflakes are part of the Snowman Circle Twist set. After gluing down the elements and filling it with glitter and snow (not shown in this pic) I adhered a circle of actetate to the foam, then added a frame of glitter paper.

The base of the snow globe was created by cutting the cupcake liner from glitter paper, trimming it slightly, then adhering it with foam dots as shown. I cut a little strip from the glitter paper and added it to the top to keep the little strips of the cupcake wrapper together. The cupcake pop-up was trimmed down on the sides so that it wouldn't peek out from behind the snow globe.


Seriously, how sweet is this little guy?! To finish the snow globe, I added a little die cut bow to the front, and a die cut snowflake to the 'glass' front. I added more snowflakes randomly around the card to give it even more sparkle. The paper is all from My Mind's Eye, and I think the glittery red washi tape is from The Dollar Tree.

On the front of the card I used the circle die cut again, along with a sentiment from the Holiday Word Set die. The top is tied with Tim Holtz's Christmas Jute String and a snowflake charm from the Winter Charms die set.

What's extra fun about a snowy pop-up shaker card is that it 'snows' as the card is being opened. So cool! I hope you enjoyed my take on the Gingerbread challenge. The supplies I used can be purchased at Amazon and Simon Says Stamp via the links below.


Thanks so much for stopping by today. Be sure and check out Karen's post tomorrow to see an amazing video tutorial plus lots of great gingerbread inspiration from the whole team!