Hi everyone! I hope you are all well and not too overwhelmed by the holidays. For once, I feel like I'm not running behind with a million things left to do - very rare for me!
A couple weeks ago I was browsing through the Christmas decor at JoAnn's and spotted a cute little wood sign and immediately thought, 'I'll be I could make that out of chipboard!' I came home and pulled out some of my favorite dies from Karen Burniston and got to work. I have a quick tutorial below if you'd like to try it yourself.
Begin by cutting two tags from lightweight chipboard using the large tag die from Karen's Tag Book Pop Up set. I had some dividers from a liquor store box I grabbed (I can't resist those boxes when they set them out - weird, I know!) that ended up being the perfect weight. Paint them both white and cut one into slats as shown. Cut sentiment and cardinals from red Kraft Core'dinations paper. Cut leaves from green Kraft Core'dinations.
Adhere the slats on top of the other painted tag, starting with the center slat and leaving just a bit of space in between (the left and right edges will overhang just a bit). Use sandpaper to rough up the edges and give it a worn appearance.
Adhere your sentiment using Karen's fine tip bottle glue. Use a circle die and pencil to lightly trace a circle to use as a guideline for your wreath. Using the same glue, begin adhering your branches as shown, trimming and layering until your wreath is complete.
Color some of Tim Holtz's Beaded Berries with red alcohol ink and tuck into the wreath. Finally, adhere tiny cardinals to wreath and tie with a length of twill ribbon.
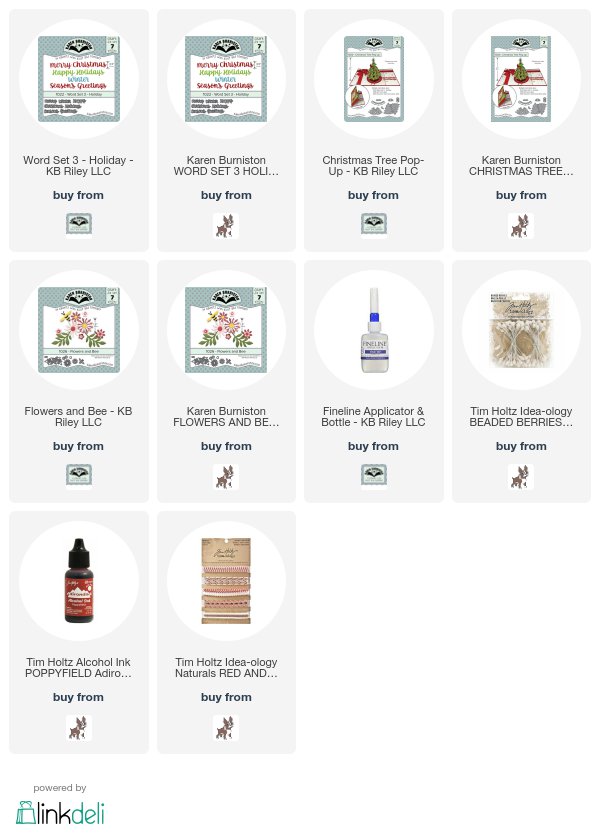
I hope you enjoyed this quick holiday project! I love the look of the faux wood slats and will definitely be using this idea on future projects. The supplies I used can be found at my favorite stores via the links below.

Have a great week!
A couple weeks ago I was browsing through the Christmas decor at JoAnn's and spotted a cute little wood sign and immediately thought, 'I'll be I could make that out of chipboard!' I came home and pulled out some of my favorite dies from Karen Burniston and got to work. I have a quick tutorial below if you'd like to try it yourself.
Begin by cutting two tags from lightweight chipboard using the large tag die from Karen's Tag Book Pop Up set. I had some dividers from a liquor store box I grabbed (I can't resist those boxes when they set them out - weird, I know!) that ended up being the perfect weight. Paint them both white and cut one into slats as shown. Cut sentiment and cardinals from red Kraft Core'dinations paper. Cut leaves from green Kraft Core'dinations.
Adhere the slats on top of the other painted tag, starting with the center slat and leaving just a bit of space in between (the left and right edges will overhang just a bit). Use sandpaper to rough up the edges and give it a worn appearance.
Adhere your sentiment using Karen's fine tip bottle glue. Use a circle die and pencil to lightly trace a circle to use as a guideline for your wreath. Using the same glue, begin adhering your branches as shown, trimming and layering until your wreath is complete.
Color some of Tim Holtz's Beaded Berries with red alcohol ink and tuck into the wreath. Finally, adhere tiny cardinals to wreath and tie with a length of twill ribbon.
I hope you enjoyed this quick holiday project! I love the look of the faux wood slats and will definitely be using this idea on future projects. The supplies I used can be found at my favorite stores via the links below.

Have a great week!


I love this Shelly! You always have such great ideas. TFS!
ReplyDeleteI love it! White, red, green and texture equals perfect Christmas combination, (in my mind).
ReplyDelete