I combine a couple of different techniques for my card. First was Karen's Staggered Charm Accordion, where she flipped the orientation of the panels. To that, I added the 'floating gear' idea from a card I made a few years ago. Since it might be hard to figure out from just looking at it, I thought I'd do a quick tutorial (I'm on a roll!) so you could make one of your own, if you wanted.
Read on to see how it all came together...
Begin by cutting two panels from kraft cardstock and two panels from transparency/acetate using Karen's Charm Accordion die set.
Cut the kraft panels in half and cut out the center pivot panels. Cut just the center pivot panels from the transparencies, leaving a tab on each end to attach to the card.
Stamp the kraft panels with a woodgrain stamp and ink the edges with brown ink. Cut three charm frame connectors from transparency. Cut six hinges from black cardstock and heat emboss with silver powder.
To create the leaves, use the wrinkle-free distress technique to color two panels of watercolor paper.
Next, using a small brown ink pad, apply ink directly to the cutting side of the leaf dies from Karen's new Autumn Elements die set. Be sure and get it on the embossed veins.
Die cut leaves from your prepared paper.
Sponge brown ink on the outer edges of the leaves. Sponge additional ink on the leaves, if desired.
Assemble the card as shown above, first linking the panels with the hinges and brads. Adhere the clear panels using the small tabs, being sure to align them carefully. Add the leaves and clear charm frame connectors to complete your card.
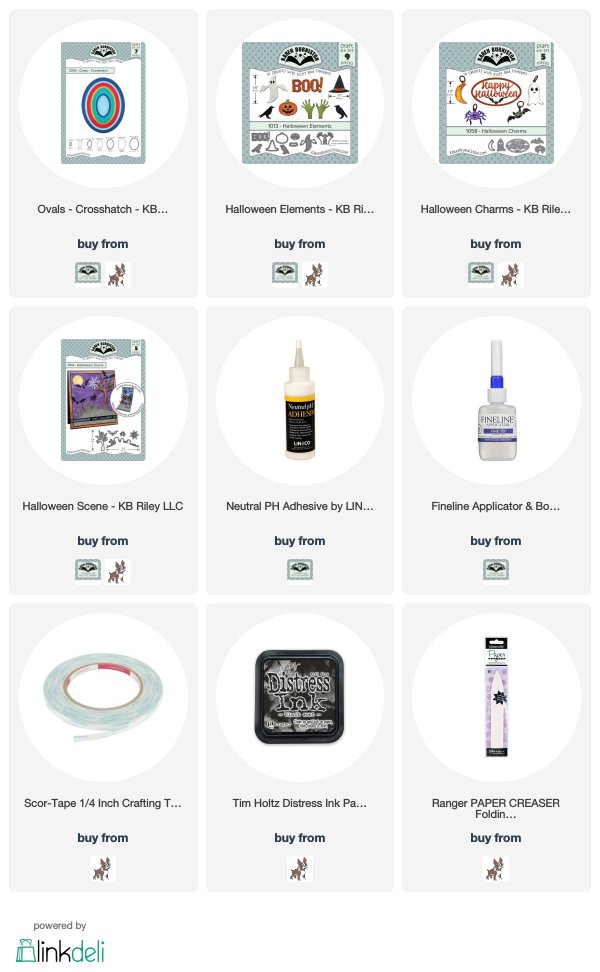
You can find the supplies I used via the links below.

Thanks so much for stopping by today! I hope you enjoyed my tutorial. Be sure and check out Karen's blog tomorrow for an awesome video and lots of fall inspiration from the whole team!


