Tuesday, October 9, 2018

Karen Burniston Designer Challenge - Happy Fall, Y'all!


Hi all! Today I'm sharing a pretty fall accordion card I made for this month's Karen Burniston Designer Challenge. Our theme is 'Happy Fall, Y'all' and I thought that a flurry of colorful leaves would be perfect for this theme.

I combine a couple of different techniques for my card. First was Karen's Staggered Charm Accordion, where she flipped the orientation of the panels. To that, I added the 'floating gear' idea from a card I made a few years ago. Since it might be hard to figure out from just looking at it, I thought I'd do a quick tutorial (I'm on a roll!) so you could make one of your own, if you wanted.

Read on to see how it all came together...

Begin by cutting two panels from kraft cardstock and two panels from transparency/acetate using Karen's Charm Accordion die set.

Cut the kraft panels in half and cut out the center pivot panels. Cut just the center pivot panels from the transparencies, leaving a tab on each end to attach to the card.

Stamp the kraft panels with a woodgrain stamp and ink the edges with brown ink. Cut three charm frame connectors from transparency. Cut six hinges from black cardstock and heat emboss with silver powder.

 To create the leaves, use the wrinkle-free distress technique to color two panels of watercolor paper.

Next, using a small brown ink pad, apply ink directly to the cutting side of the leaf dies from Karen's new Autumn Elements die set. Be sure and get it on the embossed veins.

 Die cut leaves from your prepared paper.

Sponge brown ink on the outer edges of the leaves. Sponge additional ink on the leaves, if desired.

Assemble the card as shown above, first linking the panels with the hinges and brads. Adhere the clear panels using the small tabs, being sure to align them carefully. Add the leaves and clear charm frame connectors to complete your card.

To finish the front (and to hide the tabs and brad ends!) I cut a panel from kraft core'dinations using the Charm Accordion die, cut it in half, removed the center, and adhered it to the front. The sentiment is from the new Word Set 7 - Autumn.

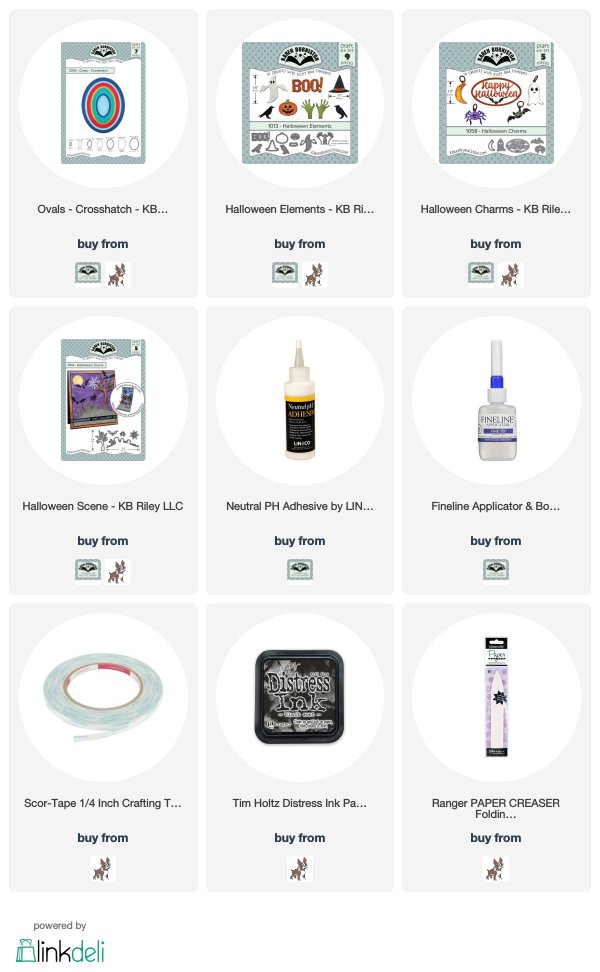
You can find the supplies I used via the links below.

Thanks so much for stopping by today! I hope you enjoyed my tutorial. Be sure and check out Karen's blog tomorrow for an awesome video and lots of fall inspiration from the whole team!

Wednesday, October 3, 2018

Rare Oddities Pop-Up Tunnel Card

Hi all! When I posted my last card in the Graphic 45 Facebook group, one of the members commented that it was a bit too complicated for them. I agree that it can be overwhelming when you first start making any type of pop-up or folded card, so I thought it would be fun to show a card that has a similar feel to it, but is much more simple to construct.

What takes this one from simple to fabulous is all the amazing Graphic 45 papers! I am on a mission to stop hoarding all of my favorite papers and release them into the wild. Rare Oddities was one of my favorite papers from a year (two?) ago and I thought it would be perfect for this card.

I used some of my favorite new dies from Karen Burniston - like this cool Halloween sentiment - and lots of fussy cut elements. Follow along below to see how I made it.

Begin by cutting two pieces of black cardstock measuring 8 1/2" x 5 1/2" (an 8.5" x 11" piece of cardstock cut in half). Score one piece in the center at 4 1/4". Score the other in the center, and then halfway between the center and each outer edge - from the left side your scores should be at 2 1/8",
4 1/4", and 6 3/8". Fold on all score lines as shown and burnish with a bone folder.

Adhere a 4 1/8" x 5 3/8" panel in the center of the mountain-folded card. Align the 4 3/8" oval die from Karen Burniston's Ovals - Crosshatch die set in the center and use your die cutting machine to cut through both layers of paper. If you don't have a die, you could hand-cut this section.

 Refold the card and ink the inside of the cutout with black ink.

Cut decorative elements from paper. Here I'm using Graphic 45's Rare Oddities paper (retired). Adhere a 4 1/8"x 5 3/8" panel to the center of the single-folded card.

To create the pop-out element for the backing card, score a panel in the center, and 1/4" from each side. (My panel was a bit small, so I added strips to widen it.) Fold as shown and apply adhesive to outer tabs.

With both pieces lying flat, align the center fold of the small panel with the center of the card and adhere. Pop center panel out as shown and retrain the folds.

To create a frame for the opening, nest two oval dies from Karen Burniston's Ovals - Crosshatch die set as shown and die cut.

 Adhere frame and other elements to card as shown.

Fussy cut flowers or other elements to add to card. Die cut spider web and spider, both from Karen Burniston's Halloween Scene collection.

 Adhere die cut and fussy cut elements to the card as shown.

 Apply adhesive to the outer edges of the frame panel.

Adhere frame panel to backing card, aligning edges carefully. Retrain all folds. Decorate front of card as desired.

 I just adore tunnel cards. It's so much fun adding little elements here and there and building a scene.

Here you can see how it folds up when closed. So cool!! It is a bit bulky because of the paper I used and how many layers there are - it will most likely need extra postage.

If you've never made a tunnel card before, I suggest using plain cardstock and making a sample card before you start cutting into your fancy papers. I do this with almost any new pop-up die or card fold and it makes it much less stressful when you don't have to worry about messing up! You can also play with where you'd like to place your elements, etc. My biggest problem with cards like this is knowing when to stop!

I hope you enjoyed this tutorial. It's been ages since I've done one and it was a lot of fun - I might have to do this more often. :-)

You can find the supplies I used via the links below. Thanks so much for stopping by today!