Showing posts with label Autumn. Show all posts

Tuesday, October 9, 2018

Karen Burniston Designer Challenge - Happy Fall, Y'all!


Hi all! Today I'm sharing a pretty fall accordion card I made for this month's Karen Burniston Designer Challenge. Our theme is 'Happy Fall, Y'all' and I thought that a flurry of colorful leaves would be perfect for this theme.

I combine a couple of different techniques for my card. First was Karen's Staggered Charm Accordion, where she flipped the orientation of the panels. To that, I added the 'floating gear' idea from a card I made a few years ago. Since it might be hard to figure out from just looking at it, I thought I'd do a quick tutorial (I'm on a roll!) so you could make one of your own, if you wanted.

Read on to see how it all came together...

Begin by cutting two panels from kraft cardstock and two panels from transparency/acetate using Karen's Charm Accordion die set.

Cut the kraft panels in half and cut out the center pivot panels. Cut just the center pivot panels from the transparencies, leaving a tab on each end to attach to the card.

Stamp the kraft panels with a woodgrain stamp and ink the edges with brown ink. Cut three charm frame connectors from transparency. Cut six hinges from black cardstock and heat emboss with silver powder.

 To create the leaves, use the wrinkle-free distress technique to color two panels of watercolor paper.

Next, using a small brown ink pad, apply ink directly to the cutting side of the leaf dies from Karen's new Autumn Elements die set. Be sure and get it on the embossed veins.

 Die cut leaves from your prepared paper.

Sponge brown ink on the outer edges of the leaves. Sponge additional ink on the leaves, if desired.

Assemble the card as shown above, first linking the panels with the hinges and brads. Adhere the clear panels using the small tabs, being sure to align them carefully. Add the leaves and clear charm frame connectors to complete your card.

To finish the front (and to hide the tabs and brad ends!) I cut a panel from kraft core'dinations using the Charm Accordion die, cut it in half, removed the center, and adhered it to the front. The sentiment is from the new Word Set 7 - Autumn.

You can find the supplies I used via the links below.
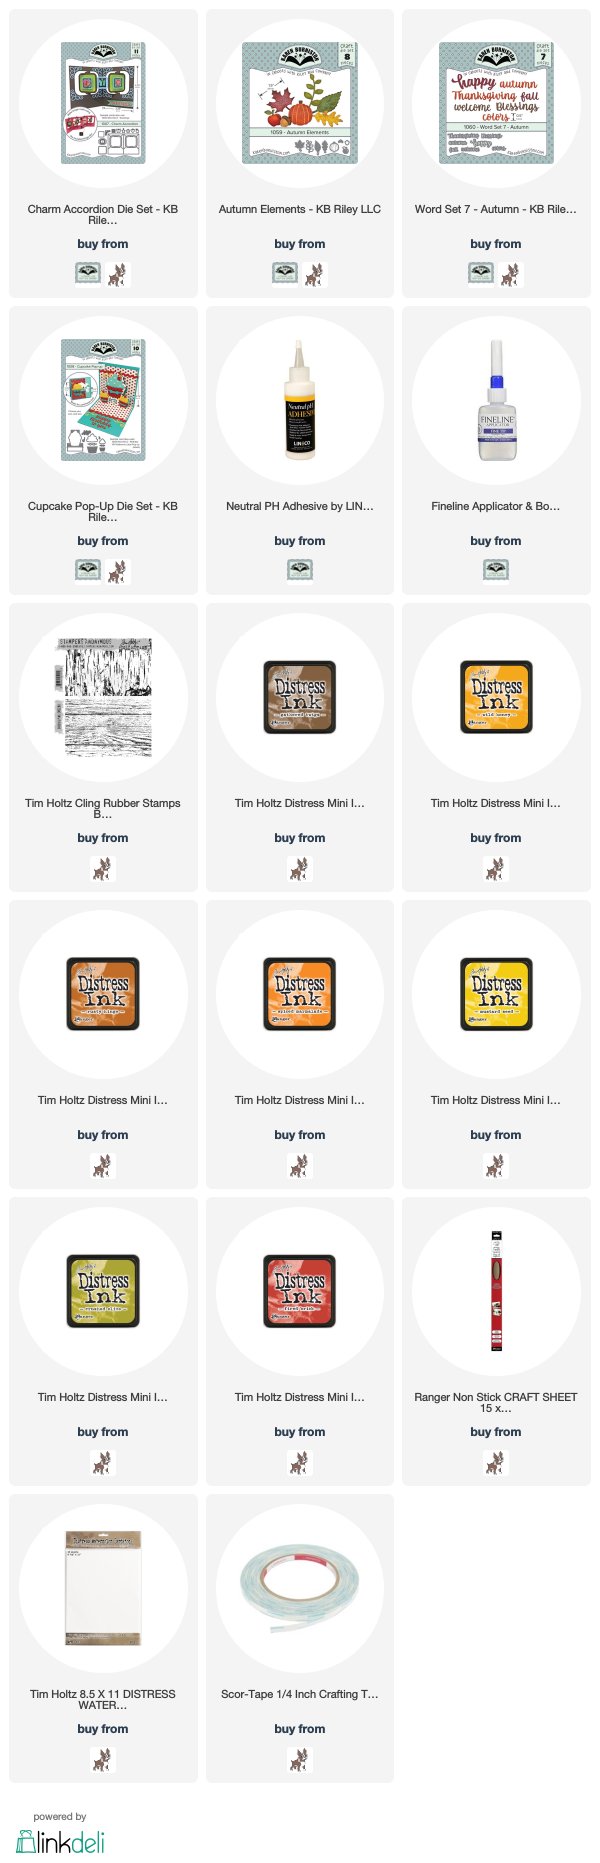
Thanks so much for stopping by today! I hope you enjoyed my tutorial. Be sure and check out Karen's blog tomorrow for an awesome video and lots of fall inspiration from the whole team!

Thursday, November 24, 2016

Happy Thanksgiving!

Happy Thanksgiving to my American followers! I hope you're all having a wonderful holiday. I wanted to share a quick post with my version of Tim's November tag. I thought they would be adorable as place cards on my Thanksgiving table so I whipped a few up last night!

I think my favorite thing about my place cards is this adorable little pearl acorn. When I saw the acorn charm on Mylissa's version of Tim's tag, I was inspired to make one of my little pearl acorns using the new pearl baubles. I love that there is no hole to hide like a regular pearl bead. I used caramel alcohol ink to color it, then glued it into a real cap. I screwed an eye screw into it so that it could be hung from the twine. So cute - thanks for the inspiration, Mylissa! :)

Another fave is the little fork, which was cut using an older Karen Burniston die. It's not available through Sizzix anymore, but I did find someone selling it on Amazon (link below). I cut it from foil-covered chipboard and painted it with black distress paint to give it a tarnished look.

The rest of my card was done following Tim's instructions, other than I used the distress spray stains and a water brush to color my leaf - I'm horrible with  markers and this way is so much easier for me!

The supplies I used can be found at Amazon, Sizzix, and Simon Says Stamp via the links below. BTW, the Alphanumeric set is on sale at Sizzix right now for an amazing price - it's a great time to snap it up!


Thanks so much for stopping by today - have a great weekend!

Monday, October 10, 2016

Karen Burniston Designer Challenge - ROYGBIV

Hi all! It's time once again for Karen Burniston's Designer Challenge and this month our theme is ROYGBIV - the colors of the rainbow. We each chose a color and had to make a monochromatic card. As you can see, I chose orange. Rather than doing a Halloween card, I decided to create a fall-themed pop-up using Karen's Twist Circle Panel Card technique. So much fun!

I kept the front very simple, using the same paper as the inside, along with another glittery leaf. I added a bit of twine and a cute stamp from Target's dollar spot.

This such a fun card technique! My friends and I got together this weekend to try out Karen's technique and I was really surprised at how easy it was. I can't wait to make more!

Here's a quick video to see how it opens. Such an amazing technique!

The supplies I used can be found at Elizabeth Craft Designs via the links below.


Thanks so much for stopping by today! Be sure and check out Karen's blog tomorrow for another great technique!

Wednesday, September 30, 2015

Frilly & Funkie - Chalk it Up!

Hi everyone! Today I'm sharing my card for the latest Frilly and Funkie challenge. It was my turn to choose a theme this time and I decided on 'Chalk it Up'. I originally intended to create a background with this cool chalk technique I came up with a few years ago, but I spotted the Halloween Blueprint stamps in my stash and ended up going in a totally different direction! Here's a quick tutorial:

I started by stamping the pumpkin onto one of Ranger's black tags and embossing it with Frosted Crystal embossing powder (you can see a full tutorial for this technique on Tim Holtz's blog). After it cooled, I rubbed it with chalk to give it the chalkboard look.

I loved the look of it, but I wanted just a bit of color. I decided to experiment with liquid chalk and Distress markers to see if I could get a colored chalk finish on my pumpkin. I started by coloring in the sections with the liquid chalk (you can find the brand I used on Amazon). After letting it dry, I carefully colored over it with the spiced marmalade marker. It worked! I added a bit of mustard seed after it dried to give it a more yellowy-orange color. After I finished, I made sure and scribbled the markers onto a scrap of paper to get rid of any chalk that had gotten on the tip.

A word of caution - while I'm pretty sure my markers will be fine, I can't guarantee it. If you want to be absolutely safe, you can scribble your marker onto a palette and use a brush to pick it up and color with it. And, while I didn't have time to try it, I'm sure you could press a Distress ink pad onto a craft sheet, pick up the ink with a brush and color with that. I did try a reinker and it didn't work at all - it wouldn't dry. So have fun experimenting, but be careful! I tend to be a bit adventurous with my supplies and I know not everyone is like that. ;)

The supplies I used can be found at The Funkie Junkie Boutique via the links below.


Thanks so much for stopping by today! There is still plenty of time to join the challenge. For all the details, along with some fantastic inspiration from the Frilly and Funkie team, make sure you check out this post. We'd love to have you join us!