Showing posts with label tag art. Show all posts

Thursday, December 21, 2017

Merry Christmas Faux Wood Tag

Hi everyone! I hope you are all well and not too overwhelmed by the holidays. For once, I feel like I'm not running behind with a million things left to do - very rare for me!

A couple weeks ago I was browsing through the Christmas decor at JoAnn's and spotted a cute little wood sign and immediately thought, 'I'll be I could make that out of chipboard!' I came home and pulled out some of my favorite dies from Karen Burniston and got to work. I have a quick tutorial below if you'd like to try it yourself.

Begin by cutting two tags from lightweight chipboard using the large tag die from Karen's Tag Book Pop Up set. I had some dividers from a liquor store box I grabbed (I can't resist those boxes when they set them out - weird, I know!) that ended up being the perfect weight. Paint them both white and cut one into slats as shown. Cut sentiment and cardinals from red Kraft Core'dinations paper. Cut leaves from green Kraft Core'dinations.

Adhere the slats on top of the other painted tag, starting with the center slat and leaving just a bit of space in between (the left and right edges will overhang just a bit). Use sandpaper to rough up the edges and give it a worn appearance.

Adhere your sentiment using Karen's fine tip bottle glue. Use a circle die and pencil to lightly trace a circle to use as a guideline for your wreath. Using the same glue, begin adhering your branches as shown, trimming and layering until your wreath is complete.

Color some of Tim Holtz's Beaded Berries with red alcohol ink and tuck into the wreath. Finally, adhere tiny cardinals to wreath and tie with a length of twill ribbon.

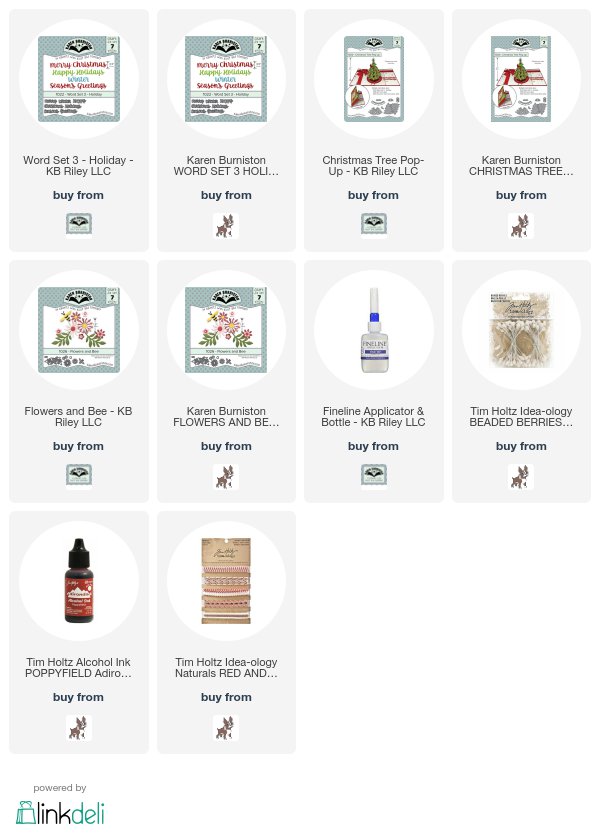
I hope you enjoyed this quick holiday project! I love the look of the faux wood slats and will definitely be using this idea on future projects. The supplies I used can be found at my favorite stores via the links below.

Have a great week!

Tuesday, June 7, 2016

Grungy Distress Crayon Tag

I'm probably the last person to get ahold of Tim Holtz's new Distress Crayons, but I finally got some this past weekend and couldn't wait to try them out! I've really been missing my studio time lately and decided that this is going to be my 'Summer of Art', so I grabbed my crayons, a few stamps, a big tag, and sat down to play. Here's my first experiment - I hope you enjoy it!

I started by stamping the image onto a piece of scrap paper and tearing it out. I needed a mask so that my texture paste didn't get in the way of my stamping. I applied the texture paste, then removed the mask. BTW, this is one of Ranger's #10 tags. It looks like they are discontinuing this size, but I found some in stock at Stampers Anonymous if you want to grab some while you still can.

After my texture paste dried, I glued torn strips of French text to my tag, then stamped randomly with the new Rings background stamp. When everything was dry, I covered it with Dina Wakley's Clear Gesso. This allows the crayon to move smoothly over the surface without soaking into the paper (that was my theory, anyway!).

After the Clear Gesso dried, I scribbled various colors over the tag. This was my first time using these, so I had no idea what I was doing, but thought it was smart to start with a bit, then add if I needed more.

Since I'd heard Tim say the crayons reacted with water, I spritzed the whole tag and then spread it around with my finger. I had no idea how loose the colors would be when mixed with water and I probably should have used less, but I loved how they blended!

I dried the tag with my heat tool, then added a bit more crayon to amplify the colors. When they dried, I used the new Plus stencil to remove some color, using a dampened paper towel.

Next, I stamped one of my favorite new images from the Evolution stamp set.

I wanted to add some text, but I didn't want it to be super contrast-y. I was like....hmmm...let's try the new plain Tissue Wrap! After stamping the quote (one of my faves!) with Jet Black Archival ink, I cut the parts I wanted to use and adhered the strips with matte medium. I love that it is translucent, but doesn't totally disappear. So cool!

After my tag was done, I went back and highlighted some of the stenciled numbers with Ground Espresso Distress ink. I love the depth of color you get with the crayons. I wish you could see this in person - it's so full of grungy texture and color!

All the supplies I used can be found at Simon Says Stamp via the links below.


Thanks so much for stopping by today! Have a great week!

Tuesday, January 19, 2016

Karen Burniston Designer Challenge - New! Day 2


Hi again, everyone! Today I'm sharing three mixed media tags I made for Karen Burniston to display in the Elizabeth Craft Designs booth at CHA. I love using Karen's Pop it Ups dies to make interactive cards, but they also are great dies to use in other projects!

The tag above was made with the Tags and More 1 die from ECD. I cut the tag from some Prima paper from my stash, adding more interest with spray ink and Karen's new Swirly Flourish stencil. I added a pretty balloon created with Karen's new Hot Air Balloon die, plus the 'Happy' from her Happy Birthday die set.

This was the first tag I made and thought I was going to go in a masculine direction, but the more stuff I piled on, the prettier it got! It ended up setting the tone for the other two tags. Again, I started with the Prima mixed media paper and added stenciling with gesso - this time using Karen's new Paisley stencil. The Tags and More 2 - Deco diw was used to cut the tag. Next, I combined her clock die with the small flourish corners to create a pretty focal point. I love the Hinge dies from ECD and cut two from silver Shimmer Sheetz to add a bit of a metallic element.

My last tag features one of my favorite dies - the Eiffel Tower Pop Stand. I cut it from corrugated paper and added dabs of gesso to give it a shabby chic feel. I used the same gesso with the Swirly Flourish stencil to add a pretty pattern to the background paper. The Berry Branch from ECD has become one of my favorite dies - I look for ways to sneak it into everything now! To finish this tag, I added a tag cut using one of the dies from Karen's Tags Pivot die set that is stamped with her new Just a Note clear stamp set.

All of my embellishments were adhered with Beacon 3-in-1 glue. I was generously given a selection of their glues and was absolutely ecstatic. It's my favorite line of adhesives and I can't recommend it enough if you want your little flowers and other bits to stay in place! Thank you, Beacon!

The dies and stamps I used can be found at Elizabeth Craft Designs via the links below. The other supplies can be found at Simon Says Stamp.


The great thing about Pop it Ups is that each set works on its own, but also coordinates with so many others. As you build your collection you find multiple ways to combine the dies - the possibilities are endless! Plus, they can be styled in so many different ways. For this set of tags I was feeling feminine, but they could have easily been taken in a more steampunk/industrial direction.

Make sure you check out Karen's blog tomorrow, where she'll be sharing a new video tutorial plus tons of inspiration from the rest of the Designer Challenge team.

Thanks so much for stopping by today. Have a great week!