Showing posts with label oxford impressions. Show all posts

Tuesday, May 1, 2018

Karen Burniston Designer Challenge - Paradise


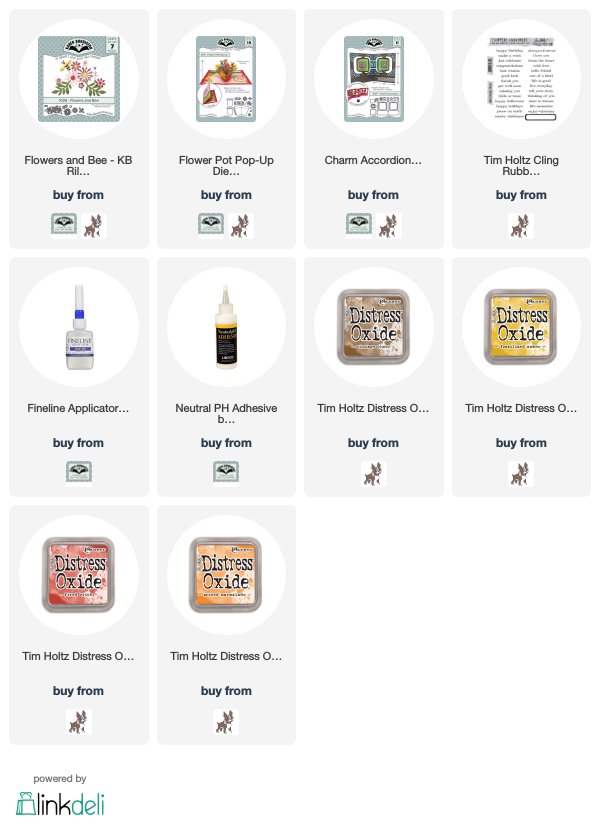
Hi all! I'm back today to share the card I created for this month's Karen Burniston Designer Challenge. For May the theme was 'Paradise'. If you know me, that can only mean one thing - my garden! I decided to create a Mother's Day card for my mom using Karen's Flower Pot Pop-Up die set and some pretty papers from an older Prima collection.

How amazing is that pop-up?! I used Karen's idea of making a terra cotta pot using Tim Holtz's Distress Oxide inks. I posted her video at the end of this post so you can see how it was done. I added water droplets on mine to give it a bit of an oxidized look.

I really wanted layered, colorful flowers, but I was too lazy to ink up a bunch of paper and then cut the flowers. Instead, I cut them from various papers from the Prima pad and then layered them. I cut the butterflies from glitter paper and adhered them with thin strips of acetate.

I had tons of flowers left over, so I filled the front of the card with them. The woman is a photo realistic rubber stamp from Oxford Impressions - one of my all-time faves! I stamped the image on glossy paper and colored it with distress markers.

Here's a little video of the card opening. It's so amazing that the whole thing folds down so perfectly!


You can find the supplies I used via the links below.

Thanks so much for stopping by today. Be sure and check out Karen's blog tomorrow for lots of gorgeous Paradise cards and a new video from Karen.


Tuesday, February 6, 2018

Karen Burniston Designer Challenge - Castle Pop-Up!

Hi all! It's time again for Karen Burniston's Designer Challenge. For February, the designers are highlighting her new Castle Pop-Up die - another one of my faves from the Winter 2018 release! This die is incredibly versatile. It can be a medieval castle, a sandcastle, a sweet princess castle, and anything else your creative mind can think up!

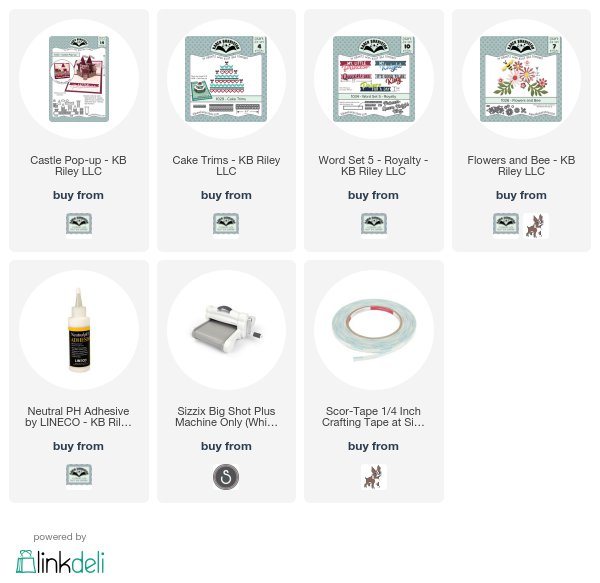
I decided I would go the medieval route and started by decorating the front with stamps from Oxford Impressions' Castle Keep stamp set. The papers are all from My Mind's Eye. The little flowers were cut with dies from Karen's Flowers and Bee die set.

When the card is opened, the 3D castle expands - incredible! Look at those turrets! And the little drawbridge! The die pieces have the brick/stone texture built in, so I used my Sizzix impressions pad to emboss the panels, then sponged them with ink to highlight the texture. So cool! To give it even more dimension, I glued little bits of moss to the turrets and wall, making it look like ivy was climbing up. To create a greeting, I die cut a banner using the word inset (both from the new Royalty Word Set), then heat embossed the word 'Queen'.

I think this would be the perfect birthday card for a special friend who deserves to be called 'Queen for a Day'!

The supplies I used can be found via the links below.


Thanks so much for stopping by today! Be sure and check out Karen's blog tomorrow to see her cool idea using the Castle Pop-Up die plus tons of inspiration from the rest of the team!

Saturday, July 15, 2017

Distress Oxides - By The Sea

Hi all! I have been keeping busy with lots of garden and baking projects, but wanted to share a new project I've started with a few friends of mine. I bought Eileen Hull's amazing new Journal die and we were cutting out book covers when it occurred to me that they would be perfect books to hold swap pages. So each month we have a theme and we'll be creating pages to put in each other's books. How fun is that?! I'm really excited to have an ongoing project like this and it's so fun to see what everyone comes up with. I still need to finish my book, but I'll be sharing that very soon.

Our first theme was patriotic/summer. I obviously went for summer. :) I am still getting the hang of working with the new Distress Oxides, so I thought I'd use this as an opportunity to experiment some more. I used a combination of Broken China, Faded Denim, and Vintage Photo to create the backgrounds. I used Elizabeth Craft Designs' soft finish cardstock as my base and I love the way it looks. I was really happy with how these turned out - there were no duds in the bunch!

The image of the women and the ticket are both rubber stamps from Oxford Impressions. The women were stamped on matte coated cardstock with black Archival ink and colored with Distress markers. I was so thrilled with how well the cardstock took the ink! I added a few rub ons to the 'photo' to add some intereste. To finish my card, I added some tissue tape and a bit of cheesecloth. I checked the OI Etsy store and I didn't see this particular stamp set available right now, but you might be able to message Suzanne, the owner, and see if she can make a special order for you. It's a really wonderful stamp set - one of the first of hers I owned! UPDATE! I just checked and By the Sea is now in stock. Thanks, Suzanne!

Here's a 'taste' of what I've been baking! Do any of you watch the Great British Baking Show (Bake Off in the UK)? I'm obsessed! When I saw this pies and tarts class that Craftsy was offering, I snapped it up!

I made these from the leftover tart dough from the tart in the photo at the top. So good! It was based on a King Arthur Flour recipe. Scrummy!

This was the pie that caught my attention in the Craftsy class. I made if for the 4th of July and it was a huge hit! The pie crust is almost like a puff pastry. So flaky and light. And no soggy bottom! :)

And here's an actual GBBO recipe - Paul's Schichttorte. It was really not as hard as it looks; just very time-consuming. And very yummy! I can't promise that this won't turn into a baking blog, but you might see a few of my latest kitchen projects from time to time. :)


One more thing - there is a great sale at Sizzix going on this weekend. Lots and lots of my favorite dies at incredible prices. Click the banner above to shop!


The inks I used can be found at Simon Says Stamp via the link above.

Thanks so much for stopping by today! I'm entering my Distress Oxide collage in the Simon Monday Challenge - Distress It,  and the Frilly and Funkie challenge - In the Good Old Summertime.

Hope you have a great weekend.

Tuesday, November 24, 2015

Eileen Hull Art with Heart Challenge - A Stitch in Time

Hi all! Hope your week is off to a great start. Today I'm sharing my project for Eileen Hull's Art with Heart challenge. The theme this month is A Stitch in Time - celebrating the release of Eileen's new Stitchlits line of dies from Sizzix. One of my favorites dies from the release is the Embroidery Hoop. It's one of those dies that has endless possibilites!

For this project, I decided to stack several cuts to make a thicker hoop that would look like a real wooden embroidery hoop. After I cut the hoops from chipboard, I glued them together with a strong adhesive and, when dry, painted them green.

I really wanted the fabric to be stretched inside the hoop like a real one, so I experimented with using the smaller ring that the die cuts. After gluing two together, I stretched the fabric across the back of the main hoop and carefully pressed the inner ring around the edge. As you can see, it's a bit too large, but if you let it bunch up as shown in the photo above, it will fit perfectly! You could also make a small cut and fit it that way too.

After you've decorated the front, just trim the fabric and add a layer of glue to the inner ring, then fold the fabric over to keep it in place.

It's hard to believe this isn't a real wooden hoop! I decided to keep my design very simple and added a cardinal cut from felt and burlap using Tim Holtz's Christmas Cardinal die. I added a stamp from Oxford Impressions and a Christmas Word Band to complete my panel. The fabric was so taut that I actually sewed the Word Band on while the fabric was stretched in the ring - I can't wait to try some embroidery next!

I hope you enjoyed this quick tutorial and are as inspired by Eileen's dies as I am! I'm imagining a whole series of these ornaments for my tree this year.

The supplies I used can be found at Simon Says Stamp and Amazon via the links below.


Thanks so much for stopping by today! We'd love to have you join us for our Stitch in Time challenge. You can find all the details here. Have a great week!

Tuesday, February 10, 2015

Karen Burniston Designer Challenge - Artsy Take Two


Hi all! I have a super fun card to share with you today for Karen Burniston's Designer Challenge. It was a labor of love and I totally adore it! I think it's the most stamping I've done in ages. I was inspired to try some coloring and stamping after trying out some Copic markers at my friend Cyndi's house. After I came home, I couldn't get them out of my mind. I've never been big on coloring, but I guess the time was finally right to dive in and try it! I didn't have a lot of money in my craft budget and wanted to get started right away, so I chose to buy the Spectrum Noir markers which are significantly less expensive than Copics. And I'm really happy I did - I love them!

I knew I wanted to do another tunnel card like THIS one, but using Karen's new Accordion Rectangle die. When deciding what stamps to use, I came upon two sets of brand new circus-themed stamps from Oxford Impression  - Vintage Circus and Big Top - that I'd never even cut up! I guess I was just saving them for the perfect project.

I cut the card panels from cream cardstock and then removed the inner panels. Next, I notched the cards where they would join. I stamped the stripes stamp on the front and back of each panel using black Memento ink, then colored the stripes with a red Spectrum Noir marker.

I stamped the curtains twice, again with black Memento ink, colored them and then cut them apart to fit the space. For the big top, I stamped and colored a panel of cream cardstock and then cut it to shape. The flags were cut with the pennant die from Karen's Lots of Pops set and adhered to painted toothpicks. The stars are beads from my stash.

The circus banner and all the other images were stamped on Neenah smooth white cardstock and colored as shown. I still have a long way to go on my coloring - but I'm having fun!


Here's a fun little video to show the movement of my trapeze lady. I love the image of her hanging from a rope, and I knew I had to make her move somehow! To make that happen, I just cut slits in the outer fold of each side of the center panel and then cut a piece of shrink plastic to fit. I used that because it needed to be fairly stiff. You could also use clear packing. I added tabs to the ends so they wouldn't pull through all the way and then adhered my lady where I wanted her. I wanted to make the dog flip too, but I couldn't figure that one out! ;)

All the supplies I used, other than the stamps, are available from Simon Says Stamp via the links below. 


Thanks so much for stopping by today! Make sure you check out Karen's post on the Elizabeth Craft Designs blog tomorrow. I've seen her card and you are not going to want to miss her tutorial!

Did you know that Spectrum Noir has a challenge each month? This is the first time I've ever entered! You can check out the rules and entries here