Showing posts with label Graphic 45. Show all posts

Wednesday, October 3, 2018

Rare Oddities Pop-Up Tunnel Card

Hi all! When I posted my last card in the Graphic 45 Facebook group, one of the members commented that it was a bit too complicated for them. I agree that it can be overwhelming when you first start making any type of pop-up or folded card, so I thought it would be fun to show a card that has a similar feel to it, but is much more simple to construct.

What takes this one from simple to fabulous is all the amazing Graphic 45 papers! I am on a mission to stop hoarding all of my favorite papers and release them into the wild. Rare Oddities was one of my favorite papers from a year (two?) ago and I thought it would be perfect for this card.

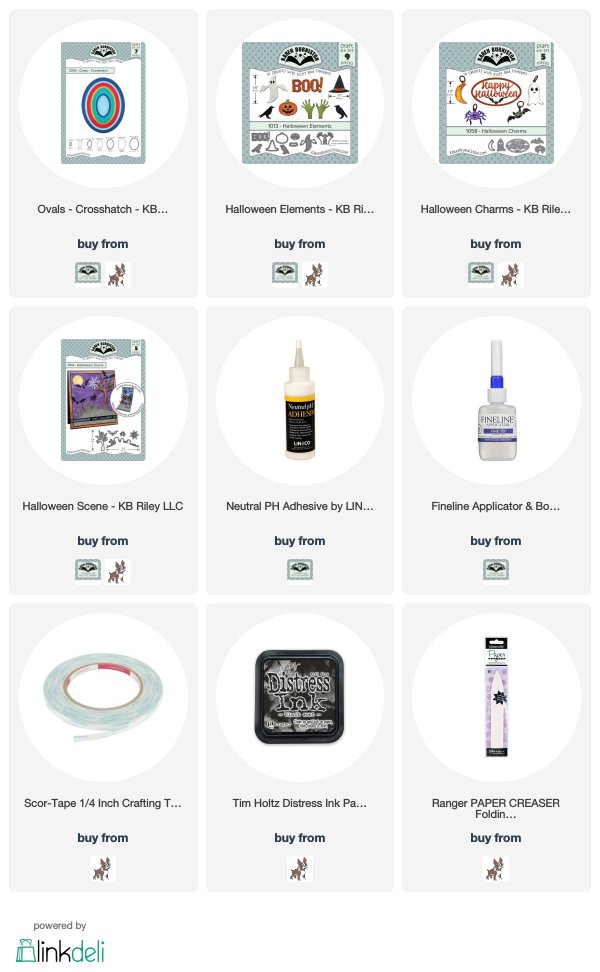
I used some of my favorite new dies from Karen Burniston - like this cool Halloween sentiment - and lots of fussy cut elements. Follow along below to see how I made it.

Begin by cutting two pieces of black cardstock measuring 8 1/2" x 5 1/2" (an 8.5" x 11" piece of cardstock cut in half). Score one piece in the center at 4 1/4". Score the other in the center, and then halfway between the center and each outer edge - from the left side your scores should be at 2 1/8",
4 1/4", and 6 3/8". Fold on all score lines as shown and burnish with a bone folder.

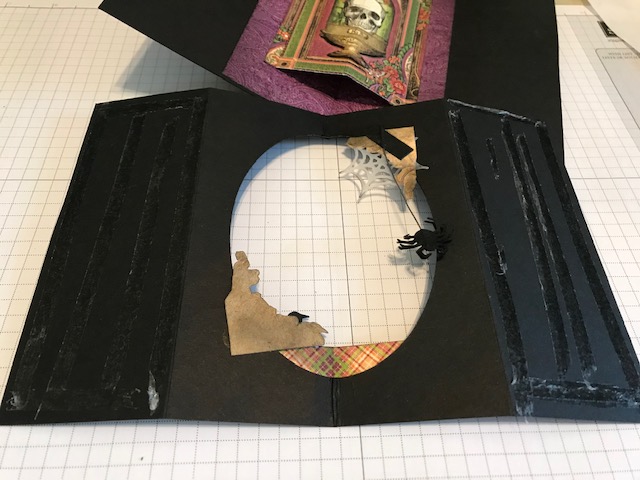
Adhere a 4 1/8" x 5 3/8" panel in the center of the mountain-folded card. Align the 4 3/8" oval die from Karen Burniston's Ovals - Crosshatch die set in the center and use your die cutting machine to cut through both layers of paper. If you don't have a die, you could hand-cut this section.

 Refold the card and ink the inside of the cutout with black ink.

Cut decorative elements from paper. Here I'm using Graphic 45's Rare Oddities paper (retired). Adhere a 4 1/8"x 5 3/8" panel to the center of the single-folded card.

To create the pop-out element for the backing card, score a panel in the center, and 1/4" from each side. (My panel was a bit small, so I added strips to widen it.) Fold as shown and apply adhesive to outer tabs.

With both pieces lying flat, align the center fold of the small panel with the center of the card and adhere. Pop center panel out as shown and retrain the folds.

To create a frame for the opening, nest two oval dies from Karen Burniston's Ovals - Crosshatch die set as shown and die cut.

 Adhere frame and other elements to card as shown.

Fussy cut flowers or other elements to add to card. Die cut spider web and spider, both from Karen Burniston's Halloween Scene collection.

 Adhere die cut and fussy cut elements to the card as shown.

 Apply adhesive to the outer edges of the frame panel.

Adhere frame panel to backing card, aligning edges carefully. Retrain all folds. Decorate front of card as desired.

 I just adore tunnel cards. It's so much fun adding little elements here and there and building a scene.

Here you can see how it folds up when closed. So cool!! It is a bit bulky because of the paper I used and how many layers there are - it will most likely need extra postage.

If you've never made a tunnel card before, I suggest using plain cardstock and making a sample card before you start cutting into your fancy papers. I do this with almost any new pop-up die or card fold and it makes it much less stressful when you don't have to worry about messing up! You can also play with where you'd like to place your elements, etc. My biggest problem with cards like this is knowing when to stop!

I hope you enjoyed this tutorial. It's been ages since I've done one and it was a lot of fun - I might have to do this more often. :-)

You can find the supplies I used via the links below. Thanks so much for stopping by today!
Sunday, September 30, 2018

Graphic 45 September Challenge - Pop-Up/3D


Hi everyone! Sorry I've been so absent lately - it seems like this summer has flown by. I've had a lot of different things going on and just haven't had a lot of any time to spend in the studio. I always plan to enter something into Graphic 45's challenges, but it seems like I always run out of time and never get something made. This month, I actually have something to share!

Recently, my friend Cyndi came up with the coolest idea for a pop-up tunnel card and taught our little group of crafty friends how to make it. I had just bought the Imagine paper collection and couldn't wait to dig into it for this card.

I mean....right?!? Unfortunately Cyndi's been really busy and hasn't had a chance to post a tutorial for this card. I am bugging her though, and hopefully she'll get one made up, because everyone needs to make this card. It's so much easier than it looks and you can keep it simple (no clue how to do that!) or go crazy with the embellishments (I am well-versed on that).

Here is a top view so you can see all of the layers. The windows are cut with graduated sizes of label dies. I believe these are by Spellbinders.

So many layers! I have always been so obsessed with tunnel cards/books...it's so much fun making little scenes.

This is such a fun card if you enjoy lots of fussy cutting. The Imagine collection has to be one of my all-time favorites from Graphic 45. There are so many great elements to cut out! It's hard to see, but even the house and tiny balloons on the very back of the card are 3D. This is truly one of those cards you have to see in person to really appreciate!

Thanks so much for stopping by today! You can find the supplies I used at Simon Says Stamp via the links below.


Tuesday, April 3, 2018

Karen Burniston Designer Challenge - Hip to be Square

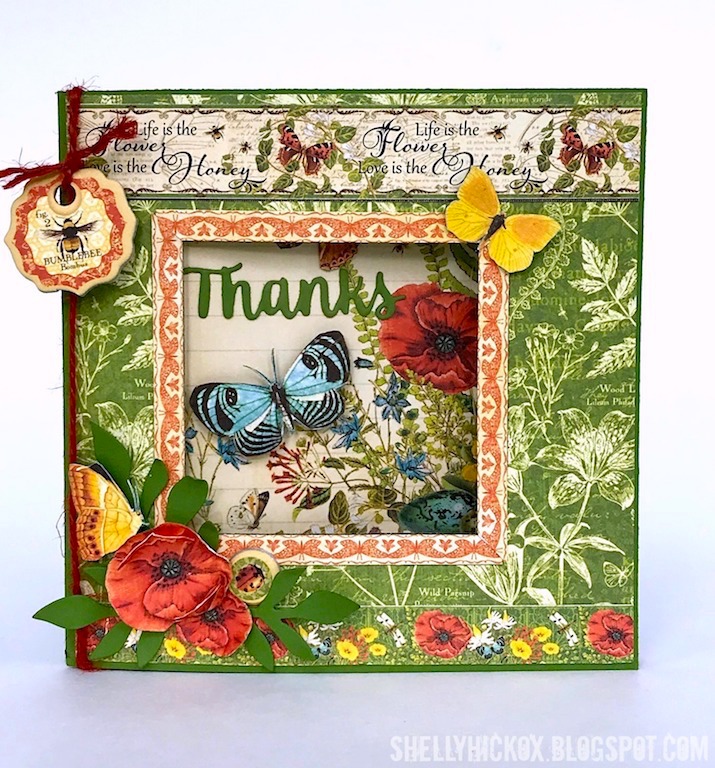
Hi all! It's time again for Karen Burniston's Designer Challenge. This month our theme is 'Hip to be Square'. I thought it was the perfect time to use one of my favorite dies - Karen's Spinner Square Pop-Up - and got to work making a pretty botanical thank you card.

The papers are all from Graphic 45's Nature Sketchbook (retired, but you might be able to find it on eBay or Etsy). This is one of my all-time favorite collections and it works so well for this card!

As the card is opened, the two butterflies on the right 'fly' out from behind the square panel. Magic! I love thinking of different things that could be animated using this die. As I'm typing and thinking, I've already decided I need to do a steampunk version with gears - how cool would that be?!

To animate the butterflies, I used the rectangle arm die from the set to cut a piece of transparency so that the mechanism would disappear and the butterflies would look like they were flying. I adhered the larger butterfly to the arm, making sure that it would be hidden when the card was closed, and then attached the smaller butterfly to it with a foam dot.

This series of photos shows the various positions of the butterflies as the card is opened. I love the magic of them floating out from behind the square panel!

Here's a quick video to show the animation. It's a little dark, but you can get the general idea of how the card works!

The supplies I used can be purchased via the links below.

Thanks so much for stopping by today! Be sure and check out Karen's blog on Wednesday to see her latest tutorial and lots of inspiration from the team!

Wednesday, January 31, 2018

New Karen Burniston Cake Pop-Up Card!

Hi all! I'm back today with another amazing new die from Karen Burniston's Winter 2018 release. This one might just be my favorite (today at least!). It's the Cake Pop-Up die and it is definitely a show-stopper!

I chose an older collection from Graphic 45 for this card. I have been hoarding this paper and it's absolutely perfect for this pop-up die. I kept the front fairly simple since I didn't want any bulk to keep the card from lying flat when opened. I added a decorative clip, which actually serves a dual purpose. On the front it's a pretty embellishment...

And on the inside it helps to hold the card open for display. And seriously, who wouldn't want to display this?! The Cake Pop-Up die looks so complicated, but is one of the easiest of Karen's dies to assemble (you can find her assembly video here). I cut each tier with a different paper to give it more interest. The top tier has a little tab so that you can glue candles, etc onto the top. Here, I added fussy cut flowers and a banner for maximum 'wow' factor. I added a few more fussy cut details to the back of the cake, making sure that it could still move freely when opening and closing.

Great news! Karen's new collection is shipping tomorrow, February 1st! You can shop for this die and all the other incredible dies from the release via the links below. Have fun!

Be sure and follow me on Instagram for videos of this card (and others) in action! There's nothing quite like a video for showing how amazing these cards really are.

Thanks so much for stopping by today - have a great day!

Friday, March 31, 2017

Huge Eileen Hull Sale + Mini Book

Hi all! Today I'm sharing a project I made with one of my favorite dies from Eileen Hull - the Passport Book die. It's on sale this weekend at Sizzix for a great price! I love how easy this die makes it to create mini books.

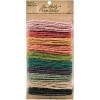
I created a 24 page book by using the die to cut 6 double pages. I nested them in sets of two, then tied them to the binding using Tim Holtz's jute string. The die makes it so easy! I added lots of pockets and chipboard elements using the sets from G45. I added a couple of foldouts to make it more interesting. I could have worked on this for days - it's so much fun!

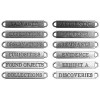
I kept the cover fairly simple, just added a matted botanical print with a couple elements popped out, and a word band from Tim Holtz.

For the binding, I covered a piece of chipboard with Tim's textile surfaces then cut the piece and adhered it to the front and back covers. I added a border along the front edge. The photos make this book look so big, but it only measures 3.5" x 5".

Click on the banner below to shop the sale - there are so many of my favorites included!

Eileen Hull Favorites Sale

You can find the supplies I used at Sizzix, Simon Says Stamp, and Amazon via the links below.


Thanks so much for stopping by today!

Wednesday, March 15, 2017

Pop it Ups Double Z Fold Card Tutorial

Hi all! Today I'm over on the Elizabeth Craft Designs blog with a tutorial for this cool, double z fold card.

I have been wanting to make one of these for ages and thought the combination of Graphic 45's new Nature Sketchbook paper and Karen Burniston's Iron Fence die would be perfect for this card style.

The best thing is that it folds completely flat for mailing!

Pop on over to the ECD blog to see how to create one yourself!

The supplies I used can be found at ECD and Simon Says Stamp via the links below.


Thanks so much for stopping by!