Hi all! Today, the
Karen Burnsiton Designer Challenge team has joined with the
Darkroom Door Design Team for a fun blog hop, featuring Karen's dies and Rachel Greig's amazing rubber stamps!
Both Darkroom Door and Karen Burniston will be giving away a prize
packs, with winners randomly chosen from ALL of the blog hop comments
received by Sunday, July 29th, 2018. Lots of chances to win some
goodies, so just leave a comment on this post or any other blog hop post
to enter!
My first card features stamps from Darkroom Door's Gardening Vol 2 stamp set. Most of you probably know I love gardening so this stamp set really spoke to me! On the front of my card, I cut a panel from oatmeal cardstock using Karen's new Rectangles Crosshatch die set. I love that the largest of the rectangles fits an A2 card perfectly! To decorate the panel, I stamped the daisy repeatedly with Pumice Stone Distress ink. I stamped the flower pot three times, then colored each pot and cut it out. I used pop dots to attach them to the card. The sentiment is from Karen's new Word Set 6 die set.
Now for the really fun part - the pop-up! I used Karen's new Upsy Daisy set to really show off these cute stamps. The watering can and flower pot were both stamped on white cardstock with gray ink, and then colored with Distress inks. As the card is opened, the three panels raise up and out slightly. Such a cool die set and I love how well the stamps work with it.
Too cute! I love this paper from Carta Bella - it matches the stamps so perfectly. The fence was stamped on a neutral paper from the set and then cut out with an exacto knife.
It's a little overexposed, but I made a quick video of the card opening and closing, so you can see how the mechanism works. So fun!
For my second card, I used DD's Cup of Tea stamp set. I was really excited to use this set...you'll see why in the next pic. :-)
For the front of my card, I stamped the teacup image three times on designer paper, heat embossed with Ranger's Watering Can powder, and cut them out. I used pop dots to adhere them to a canvas panel that I stamped with the silverware image from the set. The teabag was stamped on white cardstock and inserted into the top cup with a length of paper string attached.
Here's why I was so excited to get this set - the mechanism on Karen's Spinner Square die actually makes the teapot pour!! I mean, come on. How cool is that?!? And it's such an awesome teapot stamp! Like the teacups, I stamped it onto coordinating paper and then heat embossed with Watering Can embossing powder. The panel in front was cut with dies from Karen's new Squares Crosshatch set. The teacup was stamped and embossed in the same was as the cups on the front. The little spoon (adorable!) was stamped and then heat embossed with silver powder.
To give more interest to the background, I stamped the teabag stamp repeatedly with coordinating ink. I'm so excited to give this to my mom for her birthday. She is a tea lover and I think she'll really get a kick out of the interactivity of it. I just love the motion in this card!
Speaking of which - another video that's a bit overexposed, but you have to see this one in action!
If you're visiting my site and haven't seen the whole list of blogs participating in the hop, please make sure you start with Rachel's and work your way through everyone. There are so many inspirational artists to visit - I can't wait to see what everyone has created!
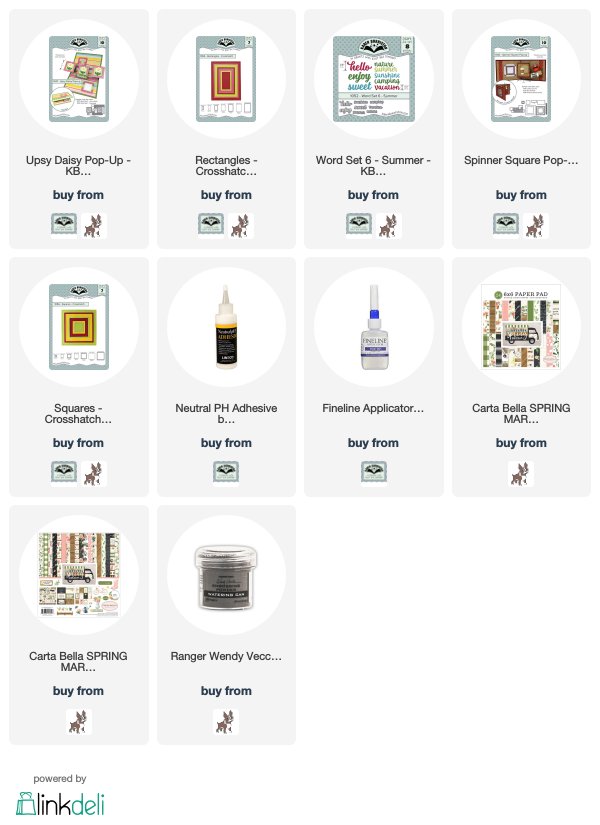
You can find the dies and other supplies I used via the links below.
Thanks so much for stopping by today! Be sure and leave a comment to be entered into the drawing!