Showing posts with label Stampers Anonymous. Show all posts

Tuesday, December 4, 2018

Karen Burnsiton Designer Challenge - Ink It!


Hi all! Hope your December is off to a great start. It's time again for the Karen Burniston Designer Challenge. This month our theme is 'Ink It.' I love this challenge because I've gotten lazier and lazier in my cardmaking - using lots of designer paper and not much in the way of inks and stamping. Not good for a blog called Stamptramp! It was really nice to pull out all of my supplies and get creative - I haven't been doing that enough lately and I really miss it.

I decided to create a woodsy feeling Christmas card. The base is plain kraft cardstock. On the front, I stamped a woodgrain image from Tim Holtz and embossed it with Ranger's Weathered White embossing powder. I love the look of weathered wood it gives!

The chunky letters were created by cutting multiple letters from thin cardstock with dies from Karen's Alphabet set. I stacked about five cutouts, gluing each one down securely. The top letter was cut from foil covered cardstock and glued on last. The edges were colored with a silver Sharpie so that they blended in. To give it an aged appearance, I dabbed it with black and silver paints. The wreath was created from a piece of wired greenery.

Oooh, the best part, right?! I told Karen I feel like I'm overusing this Twist Panel die, but it's so much fun and so easy to use! And SO perfect with Tim Holtz's Blueprint stamps.

I just got Tim's small stamping platform and thought I'd experiment with using it to color the Blueprint images. Especially when stamping on watercolor paper, it's so nice to be able to restamp if the image isn't very clear the first time you stamp it. For this card, I stamped first with Archival ink - very important to use a permanent ink since I knew I wanted to watercolor these images.

After that, I colored the stamp with markers and stamped again. I used a waterbrush to pull the color into the image, but it wasn't intense enough, so I ended up coloring it directly (I still think it give it a cool look tho!). After it dried, I reinked the stamp, this time with clear ink, and embossed with clear embossing powder. I think the embossing really makes the image pop and kind of redefines the lines. I'm quite sold on stamping platforms now!

Don't those images just pop now?! You can barely see the shine from the clear ep, but it really adds a lot of dimension. The background on the card was made by coloring the greenery and pinecone stamps with markers and then stamping randomly. On the bottom I used a text stamp to give more interest. Finally, I used a greeting from Karen's Holiday Word Set to add a sentiment.

You can find the supplies I used via the links below. Oh, and Simon Says Stamp is offering an adorable Tiny Wreath Builder stamp and stencil set from Gina K free with ANY purchase right now! If you haven't seen the wreath builder stamps and stencils, they are so cool. And of course perfect to use with your stamping platform! I think I am going to go do a little shopping. :-)
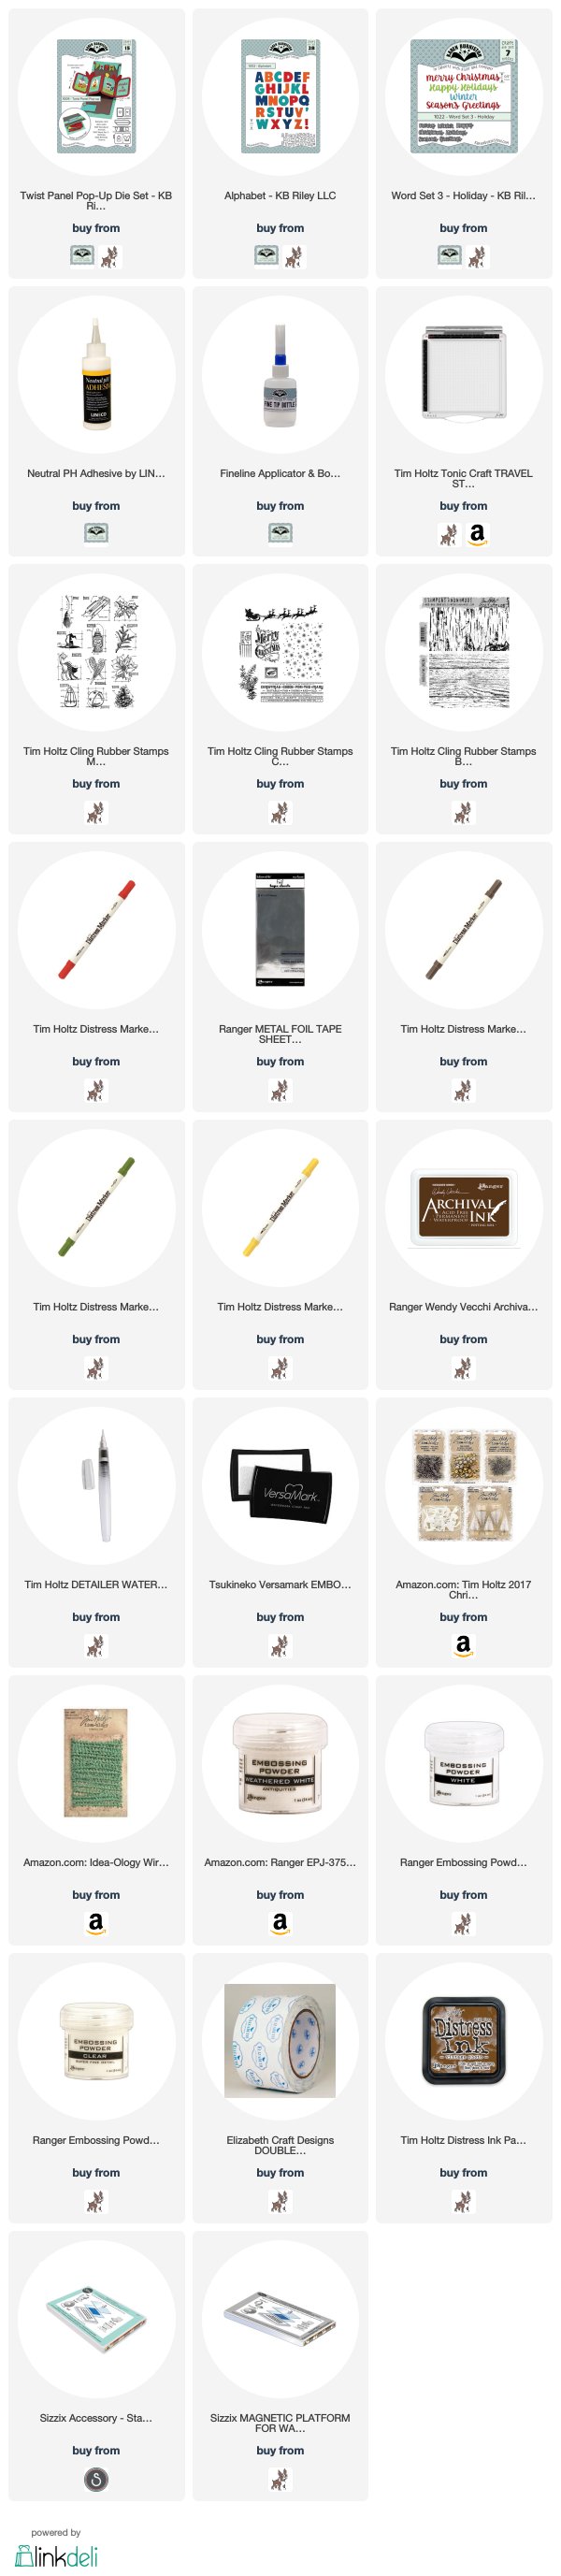

Thanks so much for stopping by today! Be sure and check out Karen's blog tomorrow for a fantastic new tutorial and lots of inky inspiration from the whole team!

Tuesday, September 6, 2016

Spooky Yupo Resist

Hi all! I haven't played along with Tim Holtz' 12 Tags for ages, but this month's technique is so amazing, I had to drop everything and try it this weekend. Yupo is seriously one of the coolest things I've worked with and I knew that this skull stamp from Tim's Apothecary stamp set would be perfect to use with the technique.

I discovered a little trick while I was making my project. I wanted to use the letters from the Halloween Words die, but they're so tiny, I knew it would be hard to place them/glue them down. To make it easier, I used Elizabeth Craft Designs wide adhesive to cover the back of my metallic cardstock, then cut it using the 'Oct.' die. The letters will stay in the die, so you just have to peel off the adhesive backing, then position the die where you want the letters. Use a pointed tool to press the letters out through the ejection holes, adhering them to the paper. So easy and the spacing will be perfect!

Last week, I found some really cool metallic paper plates at Hobby Lobby. I wasn't sure whether I would use them for food, or crafting. You can see above that crafting won out! I made my own word strip by cutting a strip from the paper plate, then die cutting it using the 'beware' die. I used Distress paints to give it an aged look. You'd totally think that was metal, right? I used the same plate to cut the 'Oct' from. I will definitely be using this trick more in the future!

The frame I used is from the dollar store. I painted it with gesso to give it more of a weathered look. I used Krylon's Looking Glass spray paint to paint the back of the glass and made it look old by rubbing away some of the paint. I thought it would look cool to add rub ons on top of the glass - I love how they look!

You can find the products I used at Simon Says Stamps, Elizabeth Craft Designs, and Amazon via the links below.


Thanks so much for stopping by today!

Tuesday, June 21, 2016

Karen Burniston Designer Challenge - Day 2!

Hi all! Today I'm sharing my second project for Karen Burniston's Designer Challenge. This time I decided to do a summery tag with butterflies - another one of my favorite things about summer!

I just bought another set of Ranger's Distress crayons and thought it would be fun to create a pretty background using Elizabeth Craft Designs' Soft Finish Cardstock. I took a couple pics along the way to show you how I made it:

I started by cutting a tag using the tag die from ECD's Tags and More 1 set. I used Karen Burniston's Swirly Flourish stencil with texture paste to create the background. After it dried, I covered the whole tag with clear gesso. I wasn't sure how the cardstock would react to the crayons and I thought it would be a good idea to seal it.

 Next, I scribbled various colors over the tag.

I spritzed the tag lightly with water and used my finger to move the color around. I added more water in areas where I wanted to remove the color.

I wanted to tone down the color a bit and soften it, so I spritzed randomly with Picket Fence Distress Ink and rubbed a bit of white paint here and there. When it was dry, I added Chicken Wire die cuts that I'd embossed with silver embossing powder, and a bit of cheesecloth. I cut butterflies from ECD's Rosebud cardstock using dies from Karen's Butterfly Pivot Card and Butterfly Accessories sets, layered them together, sanded them lightly, then adhered them to the card. Finally, I stamped one of my favorite sentiments from Tim Holtz, cut it out, and added it to the card with foam dots.

I hope you enjoyed my quick tutorial! The supplies I used can be found at Elizabeth Crafts Designs and Simon Says Stamp via the links below. SSS is having a big sale on Tim Holtz products right now too! You can save 20% when you use the code TimRocks. It's a great time to stock up!


Speaking of butterflies - here's one of my faves that I spotted last week. The swallowtails are so gorgeous!

Thanks so much for stopping by today. Be sure and check out Karen's blog tomorrow. She has a super cool new card technique, plus tons of inspiration from the whole team!