Showing posts with label Father's Day. Show all posts

Tuesday, June 5, 2018

Karen Burniston Designer Challenge - The Great Outdoors

Hi all! It's time once again for Karen Burniston's Designer Challenge. This month, the theme is The Great Outdoors. I decided to make a vintage camping-themed Father's Day card using Karen's new Tent Pop-Up die. Isn't it absolutely adorable??

The front is fairly simple, decorated with a frame that was cut with Karen's new Rectangles - Crosshatch die set. Dad was cut from plaid paper using the new Alphabet set. I added the sentiment using the Just a Note word set. The deer silhouette was cut from black kraft core'dinations. Finally, I used the new lantern charm from the Camping Charms set to add a bit of dimension.

When I was at my parent's house last year, I found a really cool picture of some of my father's relatives standing in front of a car. When I was thinking about how to decorate my card, I remembered this gent and was like - that's it! Isn't he just perfect? I love that hat!

 Here's the photo if you'd like to download it and use it in your own cardmaking/artwork!

What's so amazing about this card is that it folds completely flat for mailing. I'm excited that, this year, I don't have to mail my card to my dad - I get to hand deliver it!

You can find the supplies I used via the links below.
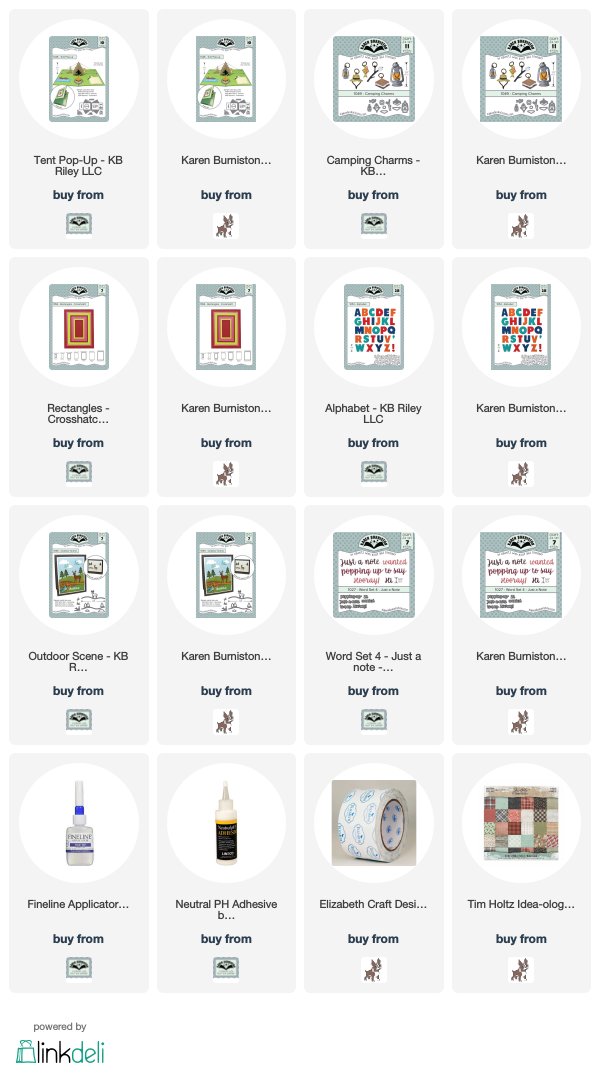
Thanks so much for stopping by today! Be sure and check out Karen's blog tomorrow for lots of great inspiration from the team, plus a fun new video tutorial from Karen!

Wednesday, June 1, 2016

Father's Day Inspiration Cards

Hi all! Today I'm sharing a couple more card I created for CHA earlier this year using Tim Holtz's new release from Stampers Anonymous. I love the style of these stamps and think they're perfect to use for Father's Day cards or any masculine card you want to create.

For the card above, I created the main panel by using the winkle-free distress technique to color two panels of manila cardstock.  I stamped the collage image on both pieces, then cut the silhouette of the man from the second piece and layered it onto the other stamped image, giving it a cool 3-d effect. It was then layered to a piece of black kraft core, embellished, then adhered to a corrugated panel. Super easy!

For this card, I wanted to experiment with brayering ink to create a background. First, I loaded my brayer with a small amount of gesso, then rolled it onto a piece of manila cardstock. After cleaning off the brayer, I ran it through a green ink pad and brayered over the gesso. Next, I did the same thing, but with brown ink. This is a super fun way to get inky without having to think much about what you're doing! There's no right or wrong. :)

After my ink was dry, I stamped the image, then embellished with the new Dapper design tape, one of the new mirrored hearts, and some twine. Another super simple and fun card to make!

All the supplies I used can be found at Simon Says Stamp via the links below.


Thanks so much for stopping by - have a great week!

Wednesday, May 27, 2015

Wednesday With Tutorial!


Hi all! Today, I'm sharing the tutorial for this cool, interactive steampunk card over at the Elizabeth Craft Designs blog. It's another version of the tunnel card I've been making by altering Karen Burniston's Accordion Rectangle die. Go HERE to check it out!

I've just started experimenting with ECD's Shimmer Sheetz and let me tell you, this material is amazing! Don't those hinges look like real brass? Nope - Shimmer Sheetz!

You can find all the supplies I used at Elizabeth Craft Designs and Simon Says Stamp via the links below.


Thanks so much for stopping by today. I hope you enjoy the tutorial!

Thursday, May 21, 2015

12 Tags of 2015 - Pop it Ups Style

Hi all! It's been awhile since I played along with Tim Holtz's 12 Tags and I had a spare afternoon yesterday so I decided to whip up a quick card. One thing that I love about this challenge is that Tim has done all the work, so all I had to do was pick out my embellishments! I decided to make mine masculine so that I could use it for a Father's Day card or masculine birthday card.

I basically followed Tim's tag layout, but used Karen Burniston's Rectangle Accordion Card die for the base. I cut two panels out of black cardstock, then cut two more from burlap paper. After I snipped the center burlap pieces free, I went to town decorating them.

Since the panels are a bit shorter than a tag, I split the tag layout between them. I replaced the ribbon with Tim's Jute String, and used Karen's Gear die to cut gears from metallic Shimmer Sheetz so that I had a die cut element to replace the flowers that Tim used. I love the look of the Shimmer Sheetz! To give them a vintage look, I sanded them lightly and then swiped a bit of black paint over them and wiped it off. I don't have the new tokens he used, so I just flipped over a Holiday Token and added a rub on. It's a great way to get double duty from holiday-themed embellishments if you have extra.

Once the burlap pieces were decorated, I adhered them to the center of the card and then attached the panels to each other to create the accordion. I love this style of card - so fun for the recipient to display!

All of the supplies I used can be found at Elizabeth Craft Designs and Simon Says Stamp via the links below.


Thanks so much for stopping by today!