Tuesday, April 15, 2014

Pop it Ups April Challenge - Mother's Day

Hello everyone! Today I'm sharing a card I made for this month's Karen Burniston Designer Challenge. This month we could choose between Mother's Day and baby themes and the DC team totally outdid themselves! Make sure you check out Karen's post on the Elizabeth Crafts blog to get a full dose of inspiration.

I chose to make a Mother's Day card for my mom, figuring I'd be ahead of the game when it rolls around next month! I used the Katie Label Pivot die and some of my favorite paper from My Mind's Eye. The card base is kraft paper that I first embossed with Karen's new Damask embossing folder. After I embossed the front, I experimented with highlighting the embossing with white paint...which didn't really go as planned, so I painted it all white and then sanded it off to show the embossing. On the bottom, I added a panel of paper and a border cut using one of the edge dies from Karen's Agatha Edges set.

Here is the card when open - so pretty! The Katie Label die is the perfect pop-up for any type of card. It comes with SO many extras so you can decorate to your heart's content.

Another thing that I love about these pivot dies is the outside decoration is also the inside - that saves time for sure! For this panel, I used one of the matching label dies to cut a piece of decorative paper slightly smaller than the pop-up. On top of that, I used another of the dies that has an embossing feature to create the green label. I highlighted the raised portion with white embossing powder. Finally, I added a die cut butterfly from the Butterfly Accessories set along with the filigree butterfly.

On this side, I repeated the same steps, but added a vellum panel with my greeting. Since I didn't have a Mother's Day stamp (out of the 1000s of stamps I own!) I printed it out and then immediately covered the wet ink with silver embossing powder. That's a trick from the olden days of stamping for sure. ;)

BRILLIANT BURNISTON DESIGN TRICK ALERT! A few weeks ago I was struggling with trying to adhere an intricate die cut onto a card. I got gooey adhesive everywhere and almost ruined my card. While whining to Karen about it she said, 'just run your cardstock through the Xyron, die cut your piece, and then peel the backing off and stick it down.' Brilliant! After die cutting the flourishes above (also from the Agatha Edges) and trying unsuccessfully to get glue on them without making a mess, I remembered Karen's tip. I tried it and my life has been changed! I defy you to find one tiny bit of residue on that flourish. Brilliant, I tell you!

As always, I love including a little Vine video to show the card opening and closing. It really shows how cool the pop-up is as well as all the other details that get lost in a picture.

You can find most everything I used to make my card at Inspiration Emporium via the links below. Remember to use my coupon code - stamptramp - to save 10% on your order! You might also notice that there are two links for the Karen Burniston dies. I've also included a link to Elizabeth Crafts, just in case IE happens to be out of the dies I've used. Please note that you cannot use the 10% discount code there, but it will give you another opportunity to pick up these great dies.


Monday, April 14, 2014

Take Flight Tag + Mini Distress Inks Giveaway!

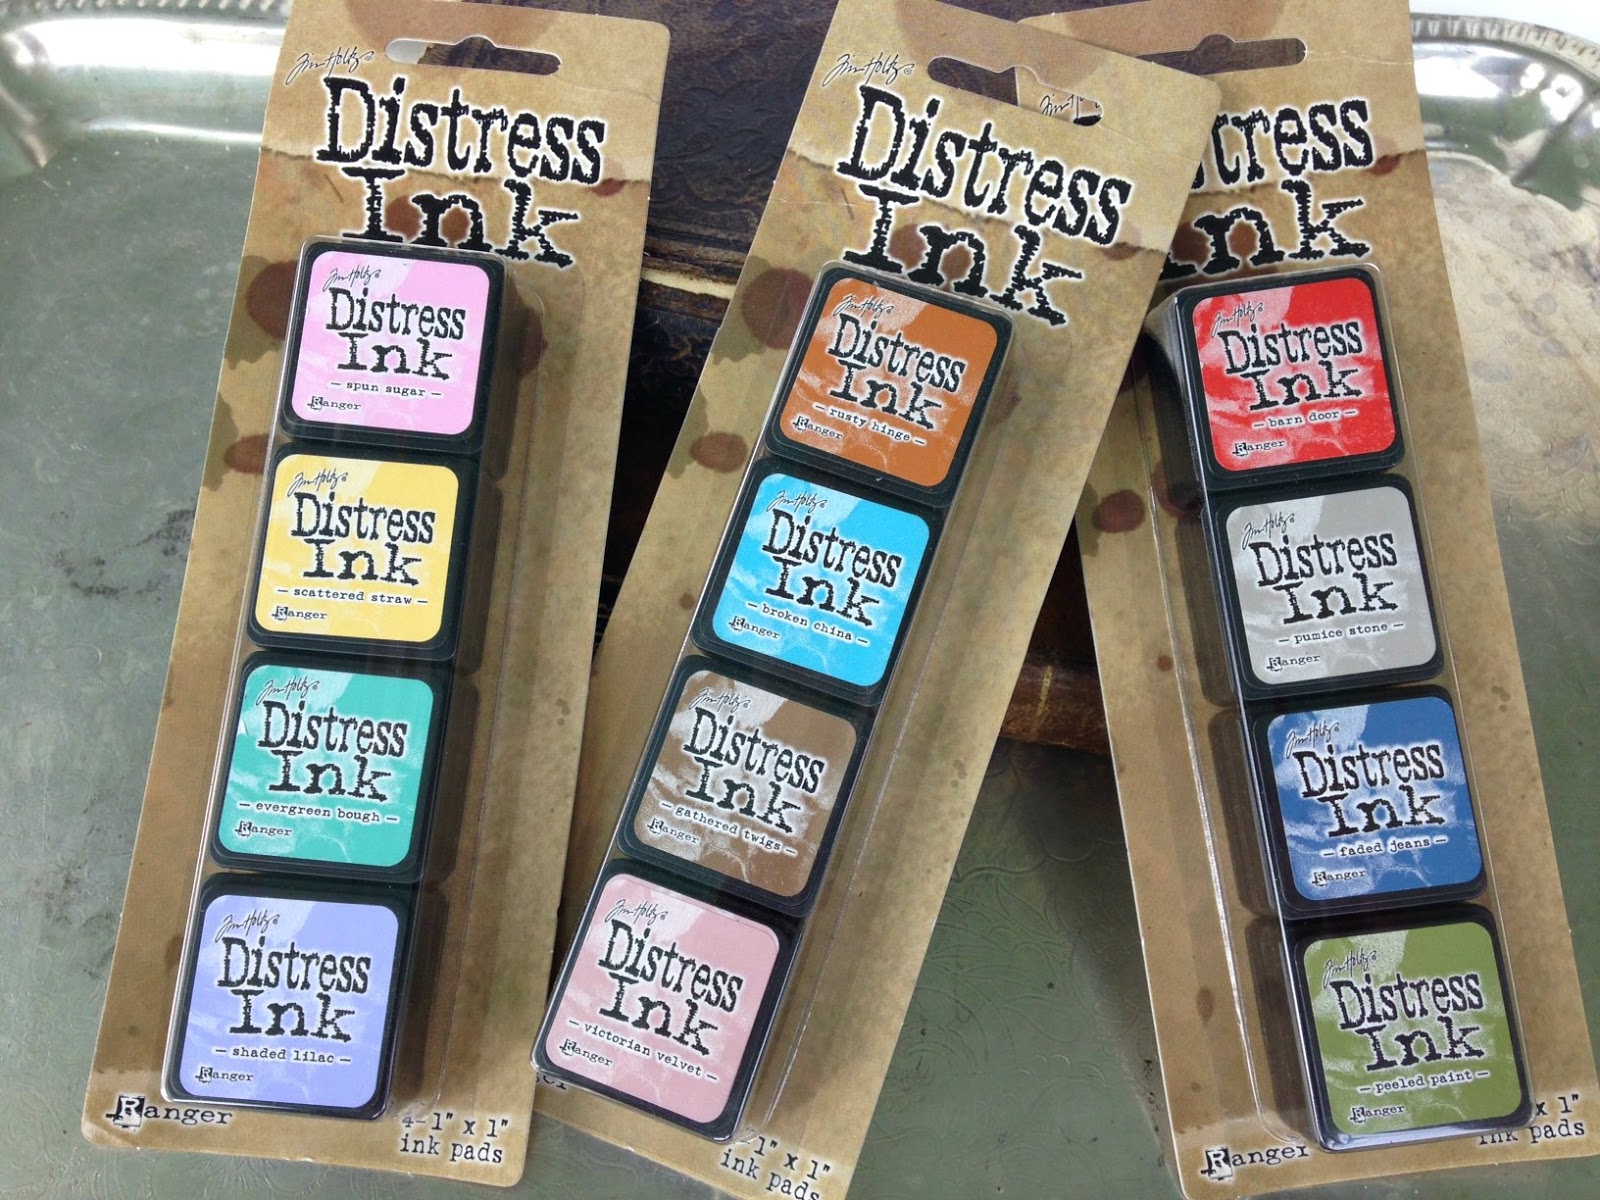
Hi all! I have exciting news! To celebrate the release of the latest Mini Distress inks, Tim Holtz and Ranger generously sent me a set of each of the new colors to play with. I absolutely love these adorable little ink pads! I already had the first three sets and have been using them a lot. They're great for taking along to classes and crops and I've also been experimenting with a few techniques too.

One of the thoughts I had was that they might work even better than the large pads for Tim's Wrinkle Free Distress technique. Since they're so tiny, you can really get a lot of color onto the mat, plus the smaller spots mean the color is very concentrated. The tag above was my first experiment with this idea and I love how it turned out!

I used all four colors from Kit #6 to create the background for my tag - I love how they work together. I wanted to keep as much of the background showing as possible, so I kept the rest of the tag fairly simple. I stamped the butterfly from the Easter Blueprints set on the tag and then onto a piece of Clearly For Art film. On the bottom, I cut a piece of chipboard using Tim's new Honeycomb die and then embossed it with Liquid Platinum ep, along with Vintage Photo Distress ep. I added Remnant Rubs to the cut outs and some coffee filter flowers cut using Tim's Tattered Flowers die.

How would you like to win your very own set of these fantastic inks?! *This giveaway has ended. Thanks so much for your wonderful comments!* In addition to sending me a set of the inks, Ranger also included a set to give away to one of my lucky followers! All you need to do is leave a comment, making sure you include your email if your blog profile doesn't have one. I'll leave the comments open until Friday at midnight CDT and announce a winner next Saturday. Oh, and I'll also include the tag and a few other treats. :) Good luck!

You can find all the supplies I used at Inspiration Emporium via the links below. Remember to use my coupon code - stamptramp - to save 10% on your order!


Saturday, April 5, 2014

Sweet Sentiments Easter Basket

You are probably tired of hearing me say this, but one of my absolute favorite things about dies is their versatility. And of all the dies I own, the various box/cube dies from Eileen Hull are probably the most versatile dies of them all! I have made organizers, Artist Trading Blocks, and much more, all from the same dies. They are truly a blank slate, just waiting for your own personal touch.

I'm officially obsessed with the Sweet Sentiments paper I won in Graphic 45's Twitter contest. It it so pretty and spring-y - perfect for Easter projects. I thought I would use it, along with the largest of Eileen's block dies, to make a sweet Easter basket. Below is a quick look at how it came together:

Cut two panels from medium weight chipboard using Eileen Hull's Square Box dies (the one that measures 3.25" square). Trim one section off of one of the panels. Paint the panels pink and adhere paper to outside. Cover the reverse, if desired. Assemble the box.

To create a handle for the basket, adhere a length of rosette trim to a white pipe cleaner. Punch two holes in the box, thread the ends of the pipe cleaner through, and twist to secure.

For the ruffle trim, cut a length of crepe paper about two feet long. Stitch a third of the way down using a running stitch. Pull the threads to gather into a ruffle. Using a strong double-sided tape, adhere to edge of box. 

To finish off the basket, dye a length of crinkle ribbon using Broken China Distress stain. When dry, tie to basket handle and add a paper flower, as shown. Finally, add embellishments and treats, and you're done!

I am totally thrilled with how this turned out. It uses so many of my favorite things - from the paper, to the dies, to the pretty feminine colors. Speaking of favorite things, that just happens to be the theme over at the Inspiration Emporium blog this month. Make sure you check out THIS post to get all the details. I'm so excited to see what you all come up with!

Most of the items, other than the paper, can be purchased at Inspiration Emporium via the links below. Remember to use my coupon code - stamptramp - to save 10% on your order.


Thanks so much for stopping by today - have a wonderful weekend!

Wednesday, April 2, 2014

Graphic 45/Pop it Ups Easter Card


Hi all! I'm so excited to share this card with you. Last week, I was shocked when I found out I won a Graphic 45 Twitter contest. When I opened the prize envelope, all this gorgeous Easter paper tumbled out. What a treat! I knew that I wanted to use one of Karen Burniston's new Pop it Ups dies with the paper to make a pretty Easter card.

Here is the card when closed. I love all the little bits and pieces that G45 includes in their papers. So easy to embellish a card like this and make it look like it took ages to make. Honestly, it went together very quickly!

On the front, I also used Karen's coordinating Fancy Frame Edges dies to creating a frame for the card. If you look closely, you can see the mitered corners. Love the concept of those frame dies.

It's a bit hard to see, but almost everything is raised with foam dots so there is a ton of dimension. And I am getting to like fussy cutting more and more. I think it's my new Cutter Bee scissors - those things are like surgical tools. So sharp!

More layering and fussy cutting on this side. I also added Tim Holtz's Chit Chat stickers to one of the G45 tags.

I hope you've enjoyed my prize package card. Thanks so much to G45 for such a generous gift. It really made my day - I'm already planning my next project. :)


Here's a quick Vine video to show you how the Accordion cards open. Pretty cool, huh?!

Everything I used (other than the paper) can be found at Inspiration Emporium via the links below. Don't forget to use my coupon code - stamptramp - to save 10%!