Wednesday, October 1, 2014

Williams-Sonoma Knock-Off Halloween Wreath

It's the 1st of October and that means it's time to start decking the halls with all things wicked and spooky! A few weeks ago I was browsing through the Williams-Sonoma website and saw a gorgeous grapevine wreath with a crow on it. I fell in love with it, but when I saw the price, I was stunned - $70! Since it's such a simple wreath made with readily available materials, I decided to take a trip to the dollar store and make one of my own.

Here's a quick tutorial to show how it came together:

The WS wreath is round, but when I spotted this oval shape at Michaels, I fell in love with it! To create the base, I lightly misted it with grey and black spray paint.

When the paint was dry, I adhered Spanish moss from the dollar store.

Finally, I hot glued a dollar store crow to the moss. That's it! Almost silly to even write a tutorial for this!

The Williams-Sonoma version has a fancier crow, but for a savings of over $60, I think this one is just fine!

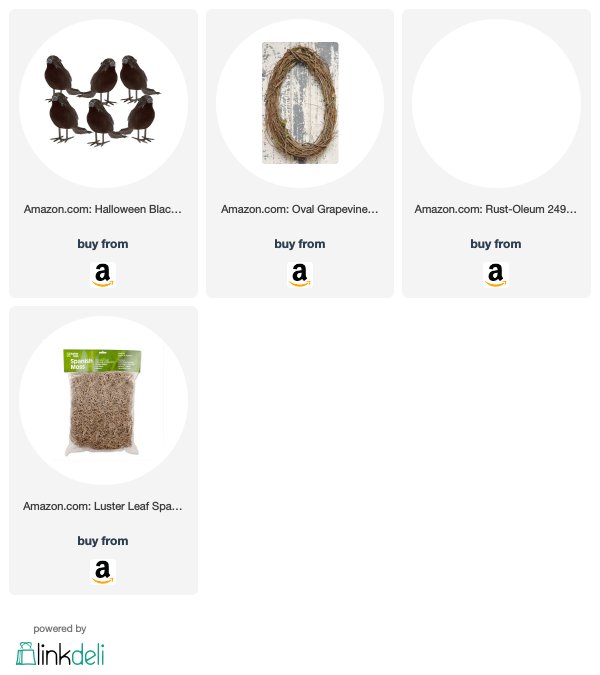
You can find products similar to what I used on Amazon via the links below. Thanks so much for stopping by today!


Tuesday, September 30, 2014

7 Spooky Halloween Decor Projects


If you've followed my blog for long, you know how much I love fall and Halloween decor projects! With Halloween just 31 days away, I thought I'd share a few of my favorite spooky creations from the past few years. Some you might be familiar with, and a few you might have missed.

Here are the links to each of the projects:
  1. Vintage Halloween Wands - this is an older project that is one of my all-time faves. I combined rubber stamps from Artistic Outpost with Tim Holtz's Rosettte die to create these fun vintage-look decorations.
  2. Spooky Halloween House - this project from last year might just use more dies than any other project, but the result is a really cool decor piece that you'll bring out year after year.
  3. Halloween Bell Jar - by combining Eileen Hull's Cupcake Stand die with a candle holder from the dollar store, you can create this spooky bell jar and fill it with anything you can dream up!
  4. Trick or Treat Lantern - a wood base from the craft store plus Tim Holtz's Frosted Film and this fun die from Sizzix combine to make a spooky little lantern that looks like it's made from metal.
  5. Glittery Halloween Houses - another one of my favorite projejcts, these little birdhouses from Eileen Hull sparkle with Ranger's Rock Candy glitter. Vintage spookiness!
  6. Boo Halloween Banner - layer a pennant die plus a few dies from Tim Holtz and you have a quick and easy Halloween banner that can be pinned up anywhere for a little haunted touch.
  7. Halloween Luminary - this die is popular for a reason - it is so versatile! Here, I've created a luminary that will add an eerie glow to your Halloween house.
I hope you've enjoyed this mini-roundup of some of my favorite Halloween projects - and I hope you're inspired to try a few! If you do, I'd also love for you to link back to me so I can see your work.

I have lots more to come this month, so be sure and subscribe and check back often!

Tuesday, September 16, 2014

Boo! A Pop it Ups Halloween Accordion Card

Hi everyone! I'm back again today with another card to share for Karen Burniston's Spooky September challenge. For this card, I used Karen's Katie Label Accordion die. It's always fun to play around with the accordion dies - there are so many different ways you can use them.

I love the look of floating or clear panels, so I decided to cut the centers out of the panels and replace them with transparency film. I didn't actually cut the whole card from transparency for this card. Instead, I cut the card panels from cardstock, just like you'd do for a regular card. Next, I cut the center from the panel using one of the companion dies, leaving a frame.

To create the clear portion, I cut transparency sheets using the full die, then trimmed them, keeping just the center portion. I stamped the panels with spiderwebs and a spider from Tim Holtz's Halloween Cutouts stamp set using Stazon Ink. Next, I stamped the letters to spell 'boo' on coordinating cardstock and adhered them to the center of the panels. Finally, I glued the clear panels to the back of the frames that were left after cutting out the centers.

I hope that makes sense! This technique is fun to use for any accordion card, no matter the theme. I hope you're inspired to try it yourself!

Most of the supplies I used can be found at Inspiration Emporium and Amazon via the links below. Remember to use my coupon code - stamptramp - at IE to save 10%.


Thanks so much for stopping by today! Be sure and check out Karen's post on the Elizabeth Craft Designs blog on Wednesday for another amazing tutorial from Karen plus lots of inspiration from the whole team!

Monday, September 15, 2014

Pop it Ups Designer Challenge - Spooky September!


Hi all! Today I'm sharing a card I made for September's Karen Burniston Pop it Ups Designer Challenge. This month's theme is Spooky September, so I decided to create a fun Halloween pop-up!

The paper I used is all from Echo Park's Chillingsworth collection. On the front of my card, I layered various papers, cutting the bottom piece with one of Karen's Agatha Edges dies. The center panel was stamped with a witch image from My Mind's Eye and cut using one of the label dies included in the Lorna Label Pop-Up collection.

Oooh, here's my spooky house! I love how it turned out. I thought quite a bit about how to make Karen's adorable Holiday House into a towering haunted house and I think I came up with a pretty easy way to get that look.

To make the center house panel, I folded my cardstock in half, placed the bottom of the house die just over the edge (so it won't cut through) and die cut my piece. After unfolding the house, I cut off the other pointed end and trimmed the house to fit. I did the same thing for the wings on either side of the house, but used the smaller portico die.

To give the house dimension, I added pop dots to the two skinny parts of the house, then adhered them to the pop-up. Speaking of which, I used the Lorna Label die which ends up being totally covered by my house, but leaves a little ledge in the front to hold up my fence. The fence was cut using Karen's House Pivot Card die. I trimmed the fence pieces out then covered them with ECD's black Silk Microfine Glitter.

To finish my card, I cut an orange panel using one of the coordinating label dies and then used the stitching die to highlight it. I added another panel and then my stamped sentiment, which is on the banner die that's included in the Lorna Label set.

I hope you're inspired to start your fall crafting! If you don't celebrate Halloween, you could easily adjust the colors and images to make a cute autumn house or get a head start on Christmas and make a pretty snow-covered cottage.

All the supplies I used can be found at Inspiration Emporium and Elizabeth Craft Designs. Remember, you can you my coupon code (at IE only) - stamptramp - to save 10% on your order.


Thanks so much for stopping by today. I'll be back tomorrow with another fun card for Karen's challenge!

Sunday, September 14, 2014

Happy Halloween Quarter Fold Card

This weekend I got together with my friends for a fun day of eating, chatting, and creating - all my favorite things! :) We decided to make the Quarter Fold Card that was featured on Splitcoast Stampers last month.

I chose to do mine in a Halloween theme. The paper is all from My Mind's Eye. The spider and 31 are from Tim Holtz and were covered with Silk Microfine Glitter from Elizabeth Craft Designs. The spider sits on a rosette created with Tim's Mini Rosettes die.

Here is the card when it's opened. I went a little crazy decorating the inside! I love this paper from My Mind's Eye and will find an excuse to use it anywhere. The bunting was made with Tim Holtz's Ribbon Flags and Spooktacular strip dies from Sizzix. The Halloween stamp is from My Mind's Eye and was stamped onto a banner cut with Tim's Tattered Banners die, then edged with more ECD glitter.

To create a 5" card, I cut my  cardstock to 10" x 4 7/8" or so and then scored 2 1/2" from each end. You might have to play with the width a bit to get the card to close correctly.

Such a fun card! You can find the full tutorial here. You can find all the supplies I used at Inspiration Emporium via the links below. Remember to use my coupon code - stamptramp - to save 10% on your order.


Thanks so much for stopping by today! Make sure you check out Inspiration Emporium's September challenge  - Fall is in the Air - and enter for a chance to win a $50 shopping spree to the IE store. You can find all the details in this post. Have a great week!