Tuesday, July 2, 2019

Karen Burniston Designer Challenge - Photo

Hi all! It's been awhile since I've been able to join in with Karen Burniston's monthly Designer Challenge, but I'm so excited that I finally have been able to find some time to craft and created a card for the challenge using one of my favorite dies from her new release - the Photo Collage Pop-Up. I paired it with papers from Graphic 45's Imagine collection for a pretty birthday card for my daughter-in-law.

The front is fairly simple, with a panel cut from the paper and embellishments that were fussy cut and adhered to the corners.

The front might be simple...but the inside is anything but! I love the mix of butterflies and other elements. It's such a fun card to open.

And here it is! There are so many ways you could style this die. I can't wait to try some more themes with it!

 You can purchase the new Photo Collage Pop-Up die HERE.

Make sure you check out Karen's blog tomorrow for a great new video from her and lots of inspiration from the team!

Tuesday, February 12, 2019

Basket Full of Love

Hi all! I have a sweet Valentine's Day pop-up card to share with you today. Originally it was supposed to be for this month's Designer Challenge, but I was on vacation and totally lost track of time, and forgot to post it! The beach tends to have that effect on me, what can I say?!

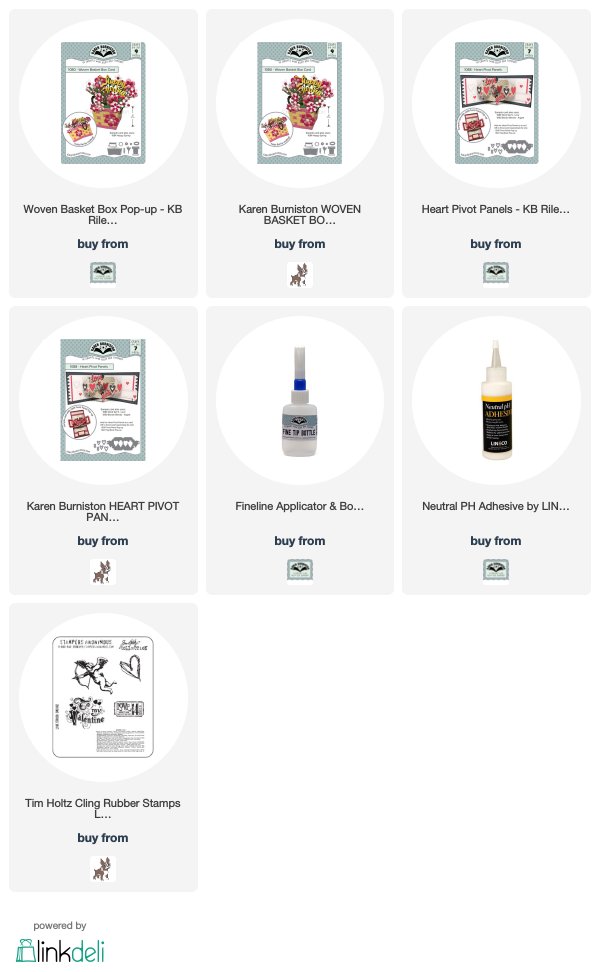
I am absolutely in love with Karen Burniston's new Woven Basket die - it's such a cool take on the pop-up box card. I decided to make my husband a somewhat masculine feeling Valentine's card, using the heart dies from Karen's new Heart Pivot Panels die and stamps from Tim Holtz. All the elements are attached to the card using strips of clear transparency.

I love that this folds completely flat for mailing. What a fun treat to send someone! And the possibilities are endless. You could style this in a cute, spring theme; shabby chic; holiday; etc. Oooh, and imagine it filled with some Graphic 45 fussing cutting!! It's really so versatile. I can't wait to play more with this die!

You can find the dies I used via the links below.


Thanks so much for stopping by today - have a great week!!

Tuesday, January 22, 2019

New Die Release From Karen Burniston!

Hi all! I'm so excited to share a card I made with a few of the dies from Karen Burniston's latest release. There are so many incredible dies in this collection - you are going to want them all!

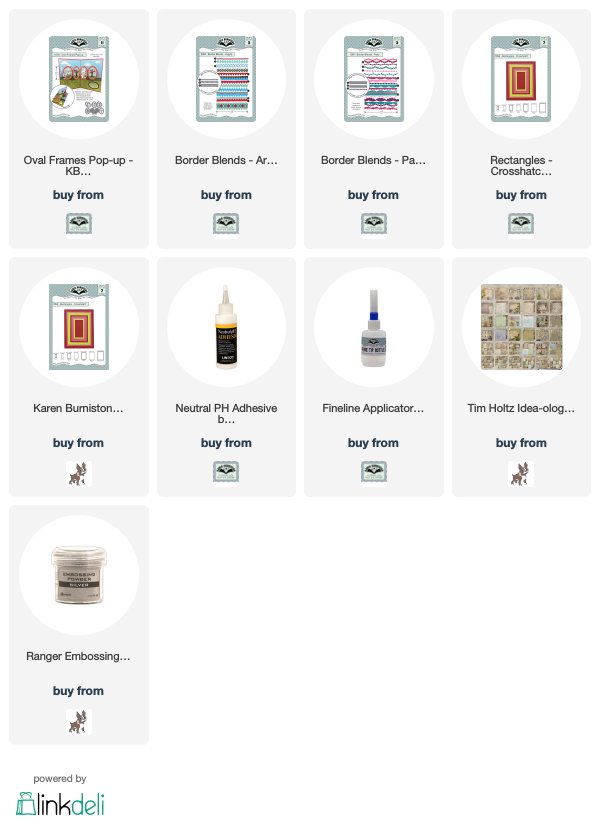
For this card, I used the new Oval Frames Pop Up die, the new Argyle and Party Border Blends, and the Rectangle - Crosshatch die from an earlier release. On the front of the card, I used the Rectangle die to cut a panel of canvas paper. On top I layered a collage paper from Tim Holtz. I used one of the new Border Blends (you are going to LOVE these!!) along the bottom. I used one of the ovals and a frame die from the Oval Frames set for the center embellishment.

Here is the inside of the card - amazing, right?! As you open the card, four oval panels drop down and pop out, and the center two frames form a 3D accordion. You really have to see this one in action! The die set includes a small tree, which I used as branches for the fussy cut birds to perch on. Along the top, I used another one of the new border dies. The frames on the ovals were embossed with silver embossing powder to give them a metallic look.

Here you can get a better idea of how the frames pop out. It's seriously cool and surprisingly easy to use.


Check out Karen's tutorial video on the border dies and prepare to be amazed!!

I hope you enjoyed my first card from this new collection. The dies are available now for preorder and will ship on the 31st.

You can order the supplies I used via the links below.


Thanks so much for stopping by! Have a great week!

Tuesday, January 1, 2019

Karen Burniston Designer Challenge - New


Happy New Year, everyone! I'm back today with my card for this month's Karen Burniston Designer Challenge. The theme is 'New' and, since I'd just found this 'new' paper at Tuesday Morning, it would be perfect for the challenge.

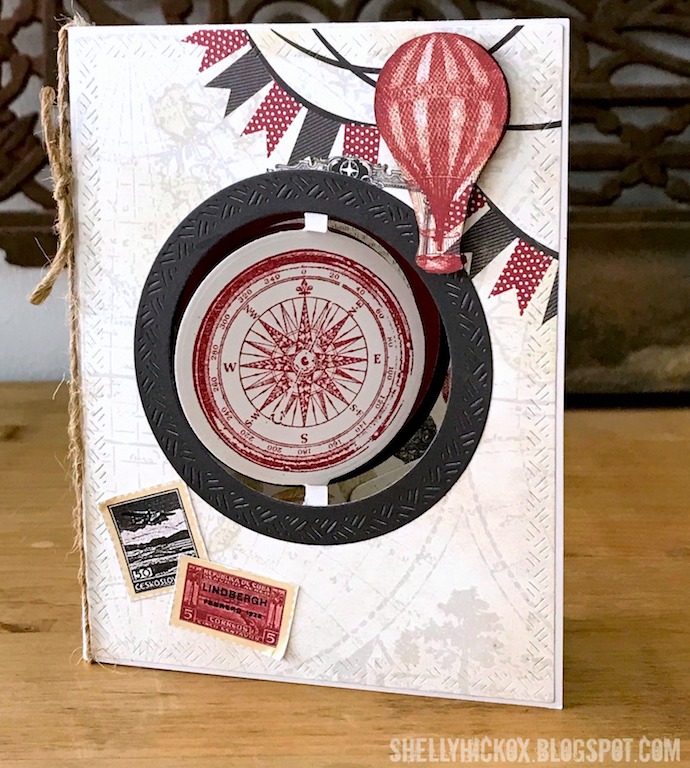
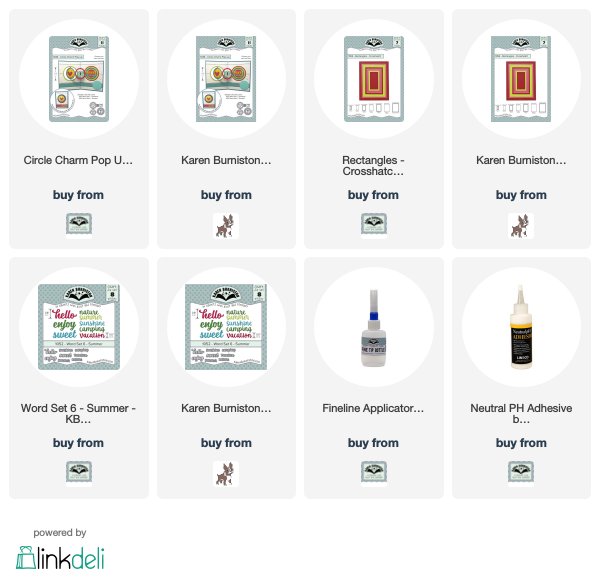
Also a bit new to me is Karen's Circle Charm Pop Up die. I've had it for awhile, but for some reason I hadn't used it it. After I started my card, I was amazed at how easy this pop-up die was to use! I used my other new favorite die set, the Crosshatch Rectangles, to cut my front and inside panels. They perfectly fit an A2 card and I love the crosshatch detail on the border.

The front circle panel was stamped with a compass rose from Tim Holtz. I stamped a small hot air balloon image twice, then cut both out and sandwiched a piece of fishing line between them for the middle section. The hello is from Karen's Summer Word Set.

You can find all the supplies I used via the links below.

Be sure and check out Karen's blog for a fun new card technique and some fantastic inspiration from the whole team!

Monday, December 24, 2018

Merry Christmas and a Gift!


Merry Christmas, everyone! I have a sweet little shadow box to share today and, as a holiday gift to all my readers, I'm sharing a printable download so you can make one for yourself!

I have been saving this tiny vintage ornament box for years, knowing it would be perfect for a Christmas scene, but I never quite got around to using it. I came across it a few weeks ago and decided I would not let another year go by without creating something. I thought it would be a waste to use the original, so I took it apart and scanned it, then printed it out.

Tim Holtz's Christmas Paper Dolls are the perfect size for this little box. I glued some strips of fiberfill to the bottom for snow, then added tiny trees, the paper dolls, and a tiny deer.

The front is embellished with Tim's tinsel twine, a vintage ornament, number token, and a die cut branch. I cut tiny snowflakes from glitter paper using a die from Karen Burniston's Evergreen Pivot Panel set.

Click on the image above to get the full sized scan for downloading. I printed it out on heavy  8.5" x 11" cardstock, adjusting it so it filled the full sheet.  It came out much lighter than it looks in the scan (which I actually liked better!) - you can experiment to see what works for you. Then, just cut it out and score where you can see the fold lines, fold it up, and you're ready to decorate!

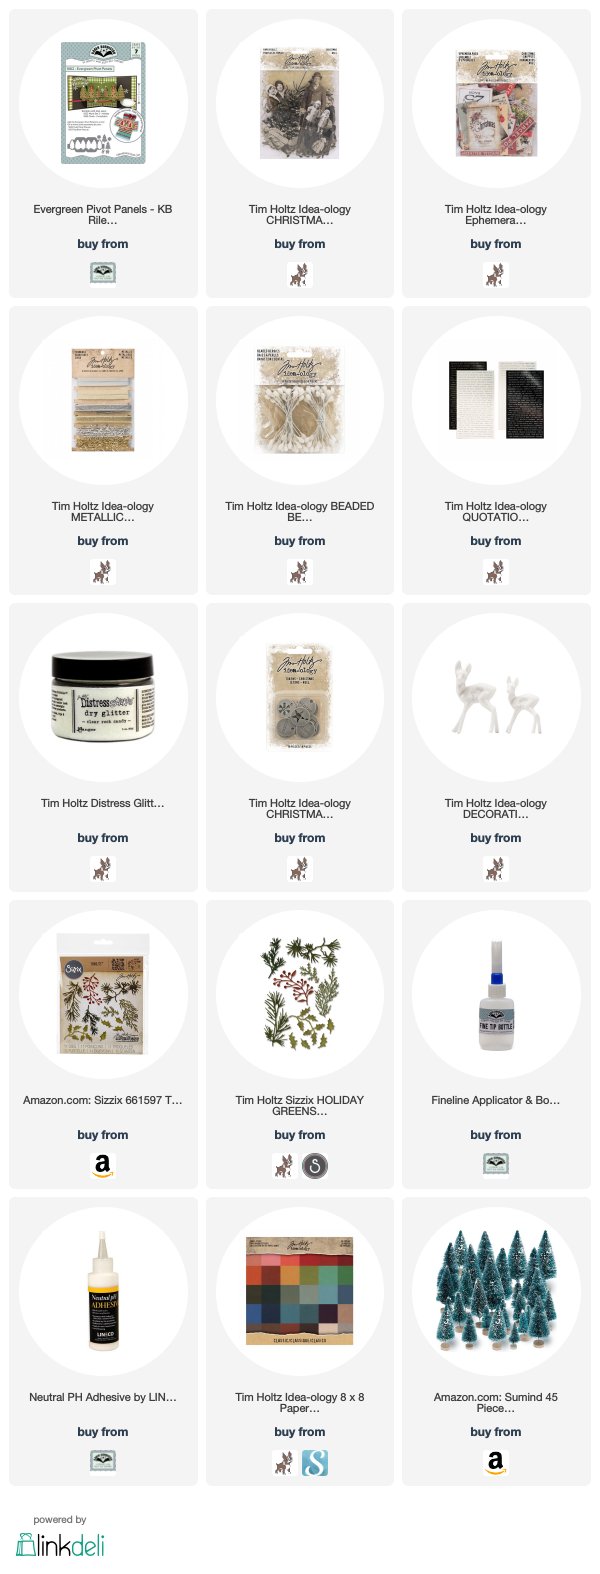
You can find the supplies I used via the links below.

I hope you all have a wonderful holiday season! Thanks so much for all of your comments, pins, and support over this past year. I haven't had as much time to create as I have in other years, but I'm hoping 2019 will be full of creativity!


Tuesday, December 4, 2018

Karen Burnsiton Designer Challenge - Ink It!


Hi all! Hope your December is off to a great start. It's time again for the Karen Burniston Designer Challenge. This month our theme is 'Ink It.' I love this challenge because I've gotten lazier and lazier in my cardmaking - using lots of designer paper and not much in the way of inks and stamping. Not good for a blog called Stamptramp! It was really nice to pull out all of my supplies and get creative - I haven't been doing that enough lately and I really miss it.

I decided to create a woodsy feeling Christmas card. The base is plain kraft cardstock. On the front, I stamped a woodgrain image from Tim Holtz and embossed it with Ranger's Weathered White embossing powder. I love the look of weathered wood it gives!

The chunky letters were created by cutting multiple letters from thin cardstock with dies from Karen's Alphabet set. I stacked about five cutouts, gluing each one down securely. The top letter was cut from foil covered cardstock and glued on last. The edges were colored with a silver Sharpie so that they blended in. To give it an aged appearance, I dabbed it with black and silver paints. The wreath was created from a piece of wired greenery.

Oooh, the best part, right?! I told Karen I feel like I'm overusing this Twist Panel die, but it's so much fun and so easy to use! And SO perfect with Tim Holtz's Blueprint stamps.

I just got Tim's small stamping platform and thought I'd experiment with using it to color the Blueprint images. Especially when stamping on watercolor paper, it's so nice to be able to restamp if the image isn't very clear the first time you stamp it. For this card, I stamped first with Archival ink - very important to use a permanent ink since I knew I wanted to watercolor these images.

After that, I colored the stamp with markers and stamped again. I used a waterbrush to pull the color into the image, but it wasn't intense enough, so I ended up coloring it directly (I still think it give it a cool look tho!). After it dried, I reinked the stamp, this time with clear ink, and embossed with clear embossing powder. I think the embossing really makes the image pop and kind of redefines the lines. I'm quite sold on stamping platforms now!

Don't those images just pop now?! You can barely see the shine from the clear ep, but it really adds a lot of dimension. The background on the card was made by coloring the greenery and pinecone stamps with markers and then stamping randomly. On the bottom I used a text stamp to give more interest. Finally, I used a greeting from Karen's Holiday Word Set to add a sentiment.

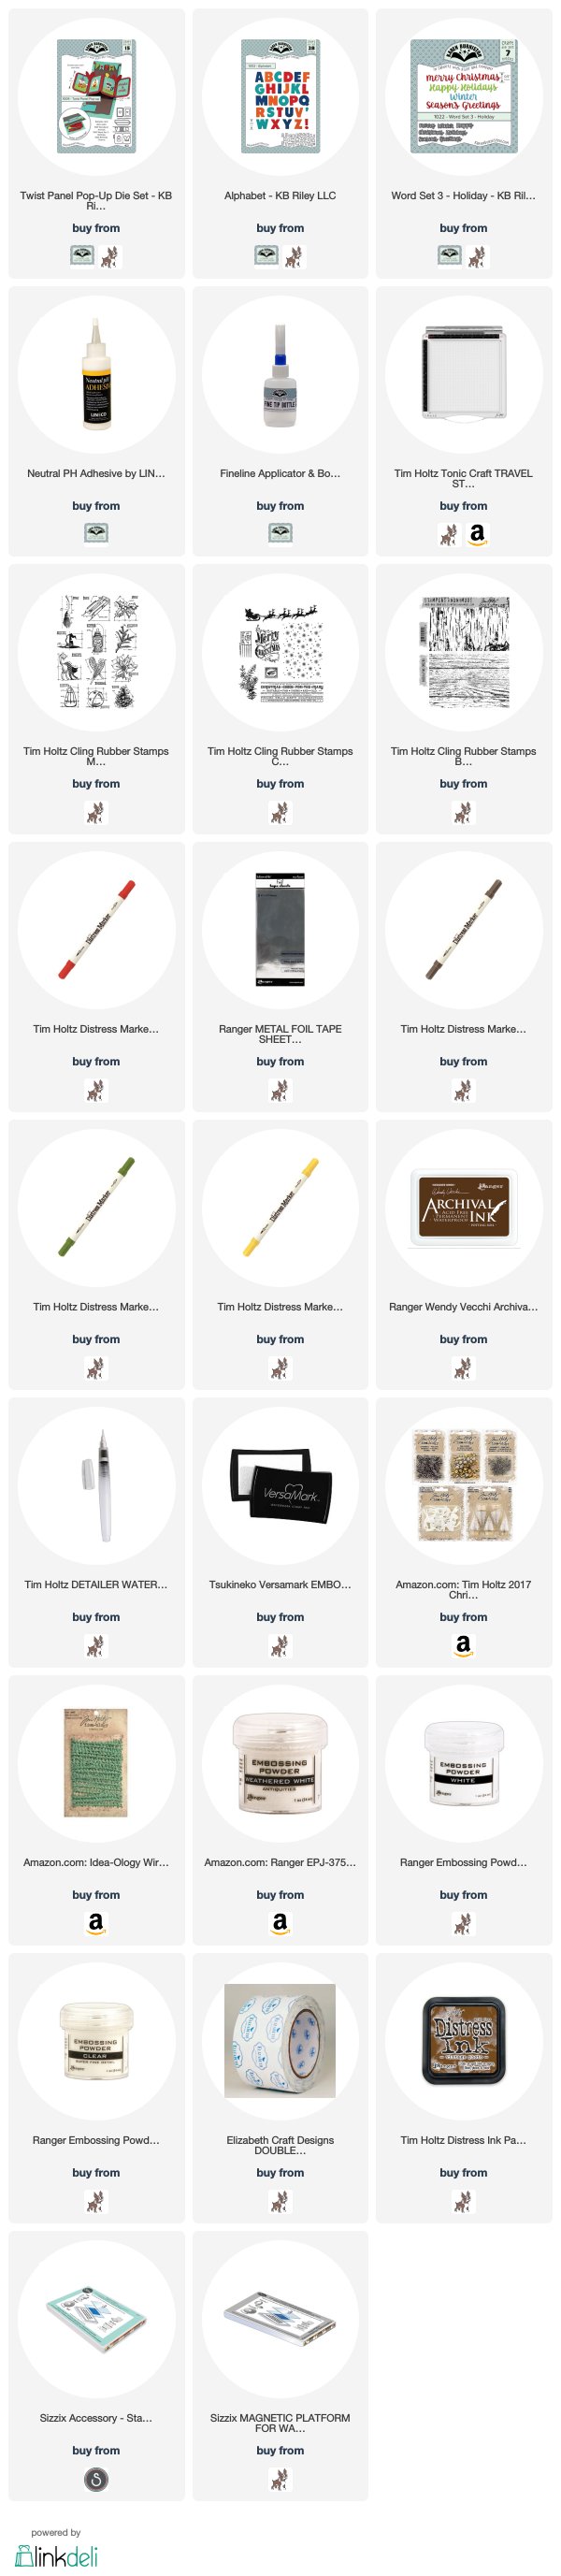
You can find the supplies I used via the links below. Oh, and Simon Says Stamp is offering an adorable Tiny Wreath Builder stamp and stencil set from Gina K free with ANY purchase right now! If you haven't seen the wreath builder stamps and stencils, they are so cool. And of course perfect to use with your stamping platform! I think I am going to go do a little shopping. :-)


Thanks so much for stopping by today! Be sure and check out Karen's blog tomorrow for a fantastic new tutorial and lots of inky inspiration from the whole team!

Tuesday, November 6, 2018

Karen Burniston Designer Challenge - Christmas Tree


Hi all! It's time again for Karen Burniston's monthly Designer Challenge. This month, Karen chose the theme 'Christmas Tree'.  Sometimes I ask my husband for ideas and he suggested I make a scene where people were chopping down their Christmas tree. I adapted that to a less ambitious scene where the tree has already been loaded up!

On the front of my card, I used the sleigh from Karen's Sleigh Pop Up die set to create a wintry scene. The background was created with the tree die from her Outdoor Scene set. The sleigh is filled with gifts that were made using dies from the sleigh set, and a twine-wrapped tree from the Christmas Trees Pop Stand set.

On the inside, I used the new Christmas Trees Pop Stand to create a woodsy scene, adding a deer that was cut using another die from the Outdoor Scene set.

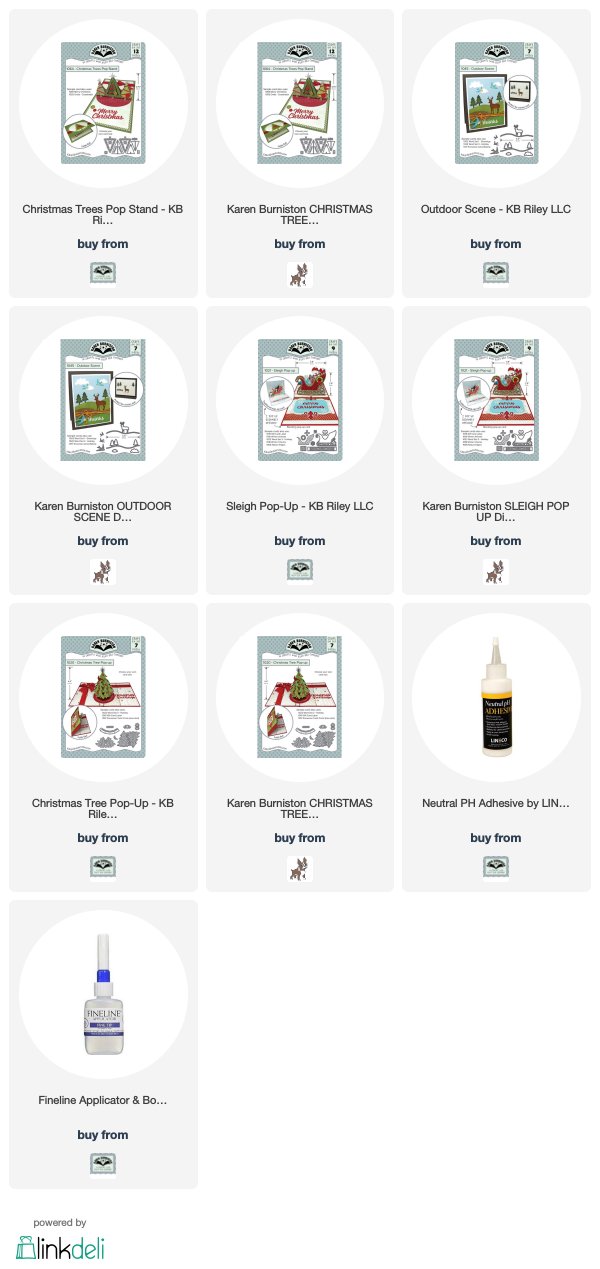
You can find the dies I used via the links below.


Thanks so much for stopping by today. Be sure and check out Karen's blog tomorrow for a new video tutorial and lots of inspiration from the team!

Tuesday, October 9, 2018

Karen Burniston Designer Challenge - Happy Fall, Y'all!


Hi all! Today I'm sharing a pretty fall accordion card I made for this month's Karen Burniston Designer Challenge. Our theme is 'Happy Fall, Y'all' and I thought that a flurry of colorful leaves would be perfect for this theme.

I combine a couple of different techniques for my card. First was Karen's Staggered Charm Accordion, where she flipped the orientation of the panels. To that, I added the 'floating gear' idea from a card I made a few years ago. Since it might be hard to figure out from just looking at it, I thought I'd do a quick tutorial (I'm on a roll!) so you could make one of your own, if you wanted.

Read on to see how it all came together...

Begin by cutting two panels from kraft cardstock and two panels from transparency/acetate using Karen's Charm Accordion die set.

Cut the kraft panels in half and cut out the center pivot panels. Cut just the center pivot panels from the transparencies, leaving a tab on each end to attach to the card.

Stamp the kraft panels with a woodgrain stamp and ink the edges with brown ink. Cut three charm frame connectors from transparency. Cut six hinges from black cardstock and heat emboss with silver powder.

 To create the leaves, use the wrinkle-free distress technique to color two panels of watercolor paper.

Next, using a small brown ink pad, apply ink directly to the cutting side of the leaf dies from Karen's new Autumn Elements die set. Be sure and get it on the embossed veins.

 Die cut leaves from your prepared paper.

Sponge brown ink on the outer edges of the leaves. Sponge additional ink on the leaves, if desired.

Assemble the card as shown above, first linking the panels with the hinges and brads. Adhere the clear panels using the small tabs, being sure to align them carefully. Add the leaves and clear charm frame connectors to complete your card.

To finish the front (and to hide the tabs and brad ends!) I cut a panel from kraft core'dinations using the Charm Accordion die, cut it in half, removed the center, and adhered it to the front. The sentiment is from the new Word Set 7 - Autumn.

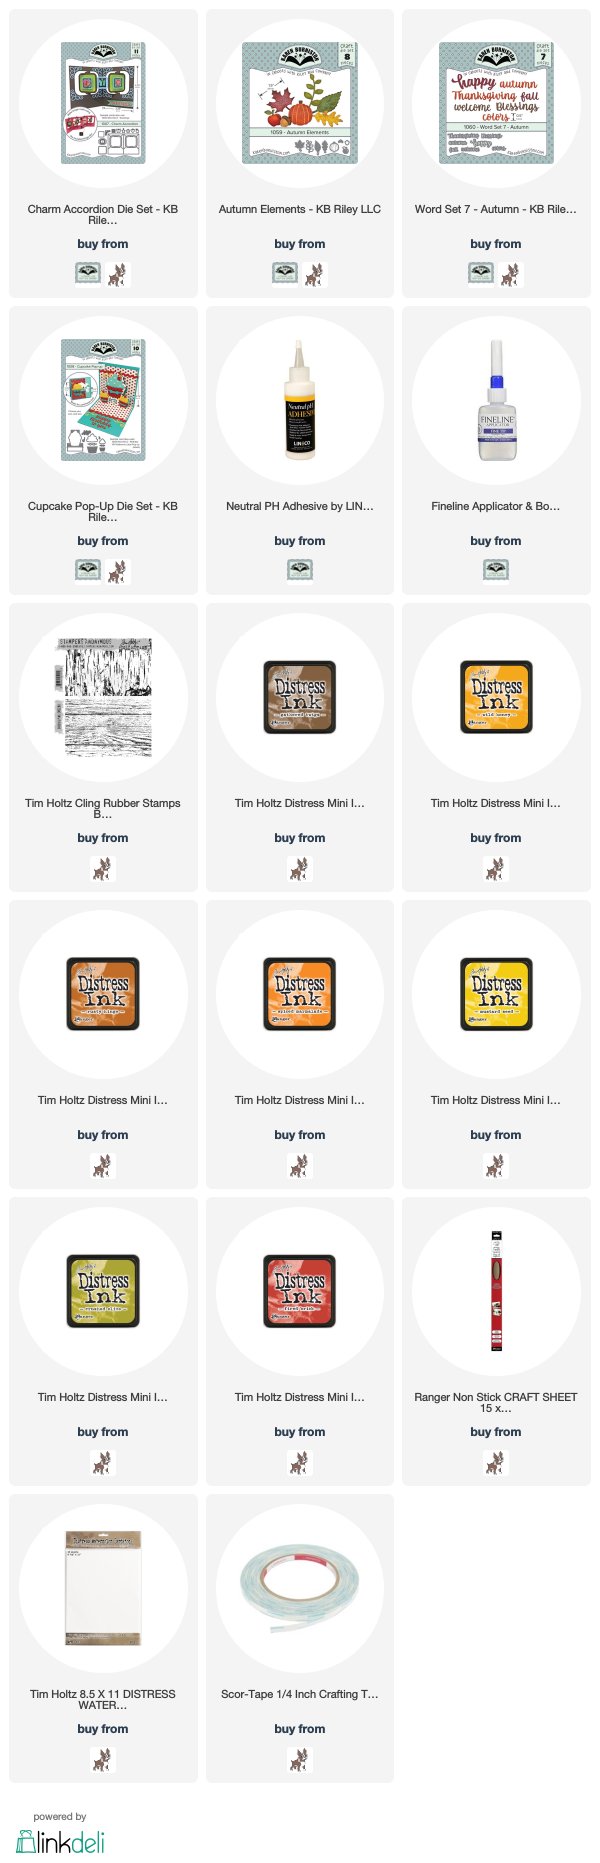
You can find the supplies I used via the links below.

Thanks so much for stopping by today! I hope you enjoyed my tutorial. Be sure and check out Karen's blog tomorrow for an awesome video and lots of fall inspiration from the whole team!
Wednesday, October 3, 2018

Rare Oddities Pop-Up Tunnel Card

Hi all! When I posted my last card in the Graphic 45 Facebook group, one of the members commented that it was a bit too complicated for them. I agree that it can be overwhelming when you first start making any type of pop-up or folded card, so I thought it would be fun to show a card that has a similar feel to it, but is much more simple to construct.

What takes this one from simple to fabulous is all the amazing Graphic 45 papers! I am on a mission to stop hoarding all of my favorite papers and release them into the wild. Rare Oddities was one of my favorite papers from a year (two?) ago and I thought it would be perfect for this card.

I used some of my favorite new dies from Karen Burniston - like this cool Halloween sentiment - and lots of fussy cut elements. Follow along below to see how I made it.

Begin by cutting two pieces of black cardstock measuring 8 1/2" x 5 1/2" (an 8.5" x 11" piece of cardstock cut in half). Score one piece in the center at 4 1/4". Score the other in the center, and then halfway between the center and each outer edge - from the left side your scores should be at 2 1/8",
4 1/4", and 6 3/8". Fold on all score lines as shown and burnish with a bone folder.

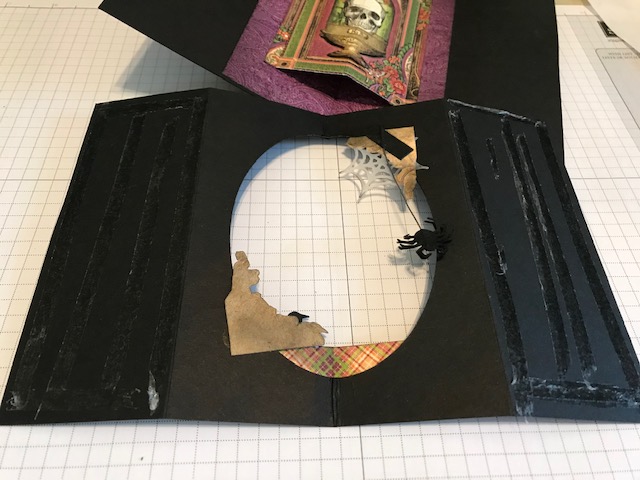
Adhere a 4 1/8" x 5 3/8" panel in the center of the mountain-folded card. Align the 4 3/8" oval die from Karen Burniston's Ovals - Crosshatch die set in the center and use your die cutting machine to cut through both layers of paper. If you don't have a die, you could hand-cut this section.

 Refold the card and ink the inside of the cutout with black ink.

Cut decorative elements from paper. Here I'm using Graphic 45's Rare Oddities paper (retired). Adhere a 4 1/8"x 5 3/8" panel to the center of the single-folded card.

To create the pop-out element for the backing card, score a panel in the center, and 1/4" from each side. (My panel was a bit small, so I added strips to widen it.) Fold as shown and apply adhesive to outer tabs.

With both pieces lying flat, align the center fold of the small panel with the center of the card and adhere. Pop center panel out as shown and retrain the folds.

To create a frame for the opening, nest two oval dies from Karen Burniston's Ovals - Crosshatch die set as shown and die cut.

 Adhere frame and other elements to card as shown.

Fussy cut flowers or other elements to add to card. Die cut spider web and spider, both from Karen Burniston's Halloween Scene collection.

 Adhere die cut and fussy cut elements to the card as shown.

 Apply adhesive to the outer edges of the frame panel.

Adhere frame panel to backing card, aligning edges carefully. Retrain all folds. Decorate front of card as desired.

 I just adore tunnel cards. It's so much fun adding little elements here and there and building a scene.

Here you can see how it folds up when closed. So cool!! It is a bit bulky because of the paper I used and how many layers there are - it will most likely need extra postage.

If you've never made a tunnel card before, I suggest using plain cardstock and making a sample card before you start cutting into your fancy papers. I do this with almost any new pop-up die or card fold and it makes it much less stressful when you don't have to worry about messing up! You can also play with where you'd like to place your elements, etc. My biggest problem with cards like this is knowing when to stop!

I hope you enjoyed this tutorial. It's been ages since I've done one and it was a lot of fun - I might have to do this more often. :-)

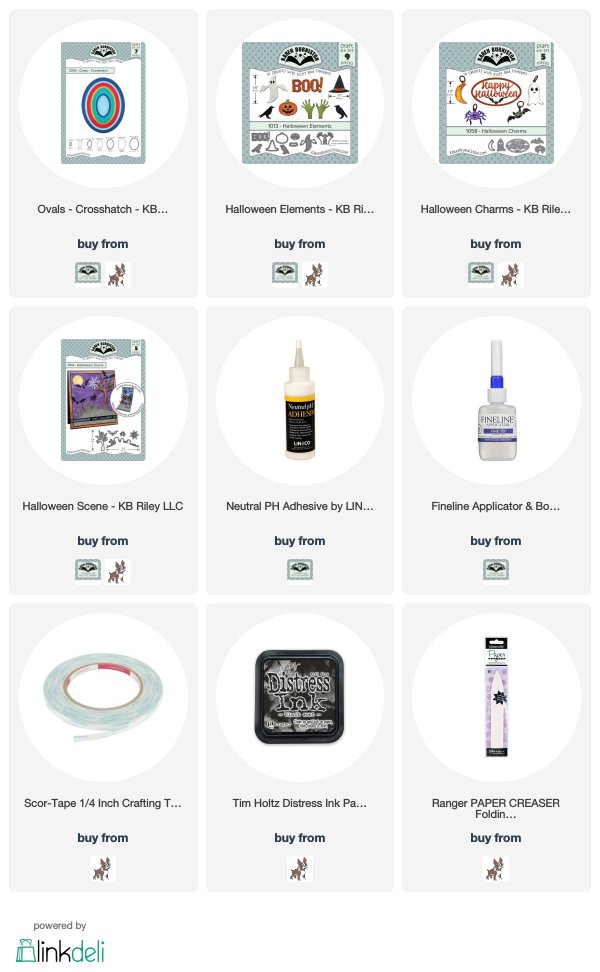
You can find the supplies I used via the links below. Thanks so much for stopping by today!